Red Velvet Cupcakes Recipe
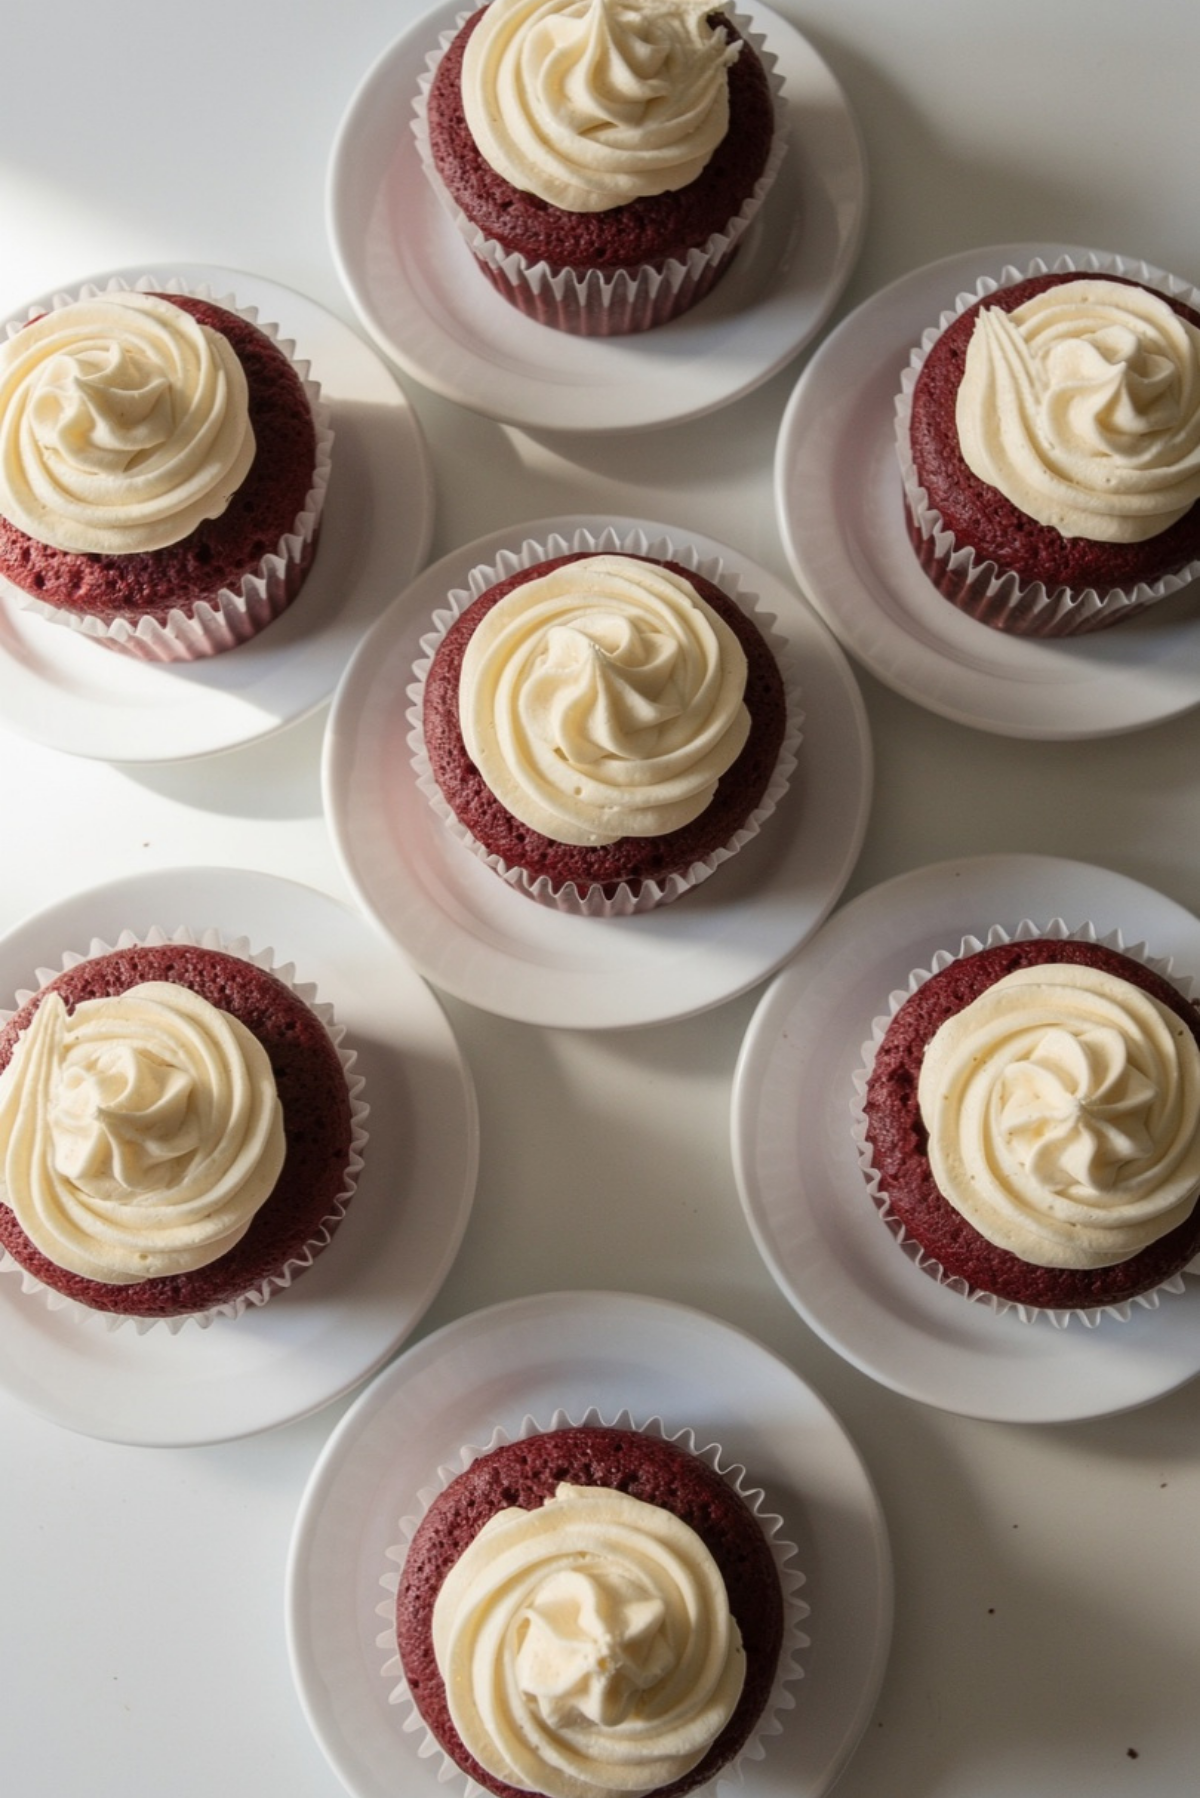
There’s just something magical about biting into a soft red velvet cupcake topped with silky cream cheese frosting. The texture is tender and velvety, the flavor has that perfect balance of cocoa and vanilla, and every bite feels bakery-worthy right from your own kitchen. Trust me, you’re going to love this. These cupcakes are rich without being heavy, sweet without going overboard, and honestly, they disappear faster than you’d expect.
And now that you’re already craving one, let’s dive into what makes these cupcakes such a timeless favorite.
Why These Cupcakes Always Steal the Show
Red velvet cupcakes have a way of making any moment feel special. Their vibrant color instantly catches attention, but it’s the flavor that keeps everyone coming back for another. The light cocoa notes mixed with tangy buttermilk create a uniquely smooth taste that feels comforting and indulgent at the same time.
The cream cheese frosting takes everything to another level. It’s creamy, slightly tangy, and melts beautifully into the soft cake. Let me tell you, it’s worth every bite. Whether you’re baking for birthdays, holidays, bake sales, or just because your sweet tooth is calling, these cupcakes fit right in.
A Sweet Little Story Behind Red Velvet
Before these cupcakes became bakery icons, red velvet cake was already making waves in American kitchens during the early 1900s. The original versions relied on natural reactions between cocoa powder and acidic ingredients like buttermilk and vinegar, which created a subtle reddish hue.
Over time, bakers started enhancing the color for that bold velvet-red appearance we know today. The dessert became especially famous in Southern baking culture, where rich cakes and cream cheese frosting were staples at family gatherings and celebrations.
And honestly, once you taste one fresh from the oven, it’s easy to understand why this classic never faded away.
What Makes These Cupcakes So Reliable Every Single Time
These cupcakes are more than just pretty desserts. They’re dependable, beginner-friendly, and packed with flavor.
Versatile: These cupcakes work for birthdays, Valentine’s Day, holiday dessert tables, or casual weekend baking.
Budget-Friendly: Most ingredients are pantry staples, which means you can make bakery-style cupcakes without spending a fortune.
Quick and Easy: The batter comes together in under 20 minutes, making this one a total game-changer for busy baking days.
Customizable: You can add chocolate chips, switch frosting styles, or decorate with sprinkles for different occasions.
Crowd-Pleasing: Almost everyone loves the rich cocoa flavor paired with cream cheese frosting.
Make-Ahead Friendly: The cupcakes stay moist for days, which makes planning ahead incredibly easy.
Great for Leftovers: If you somehow have extras, they still taste amazing chilled straight from the fridge.
Pro Tips That Make a Big Difference
A few little tricks can turn good cupcakes into unforgettable ones.
- Use room temperature ingredients for a smoother batter and fluffier texture.
- Do not overmix once the flour is added because that can make the cupcakes dense.
- Fill cupcake liners about two-thirds full so they rise evenly without overflowing.
- Use gel food coloring for a richer red shade without thinning the batter.
- Chill the frosting slightly before piping if you want clean bakery-style swirls.
Kitchen Tools That Make Baking Easier
Before you start mixing everything together, having the right tools nearby makes the whole process smoother.
Mixing Bowls: You’ll need separate bowls for dry and wet ingredients.
Electric Mixer: Helps create fluffy cream cheese frosting with minimal effort.
Cupcake Pan: Keeps the cupcakes evenly shaped and perfectly baked.
Cupcake Liners: Makes cleanup easier and helps the cupcakes hold their shape.
Cooling Rack: Allows air to circulate so the cupcakes cool evenly.
Piping Bag: Perfect for creating those beautiful frosting swirls.
Everything You’ll Need for These Velvety Cupcakes
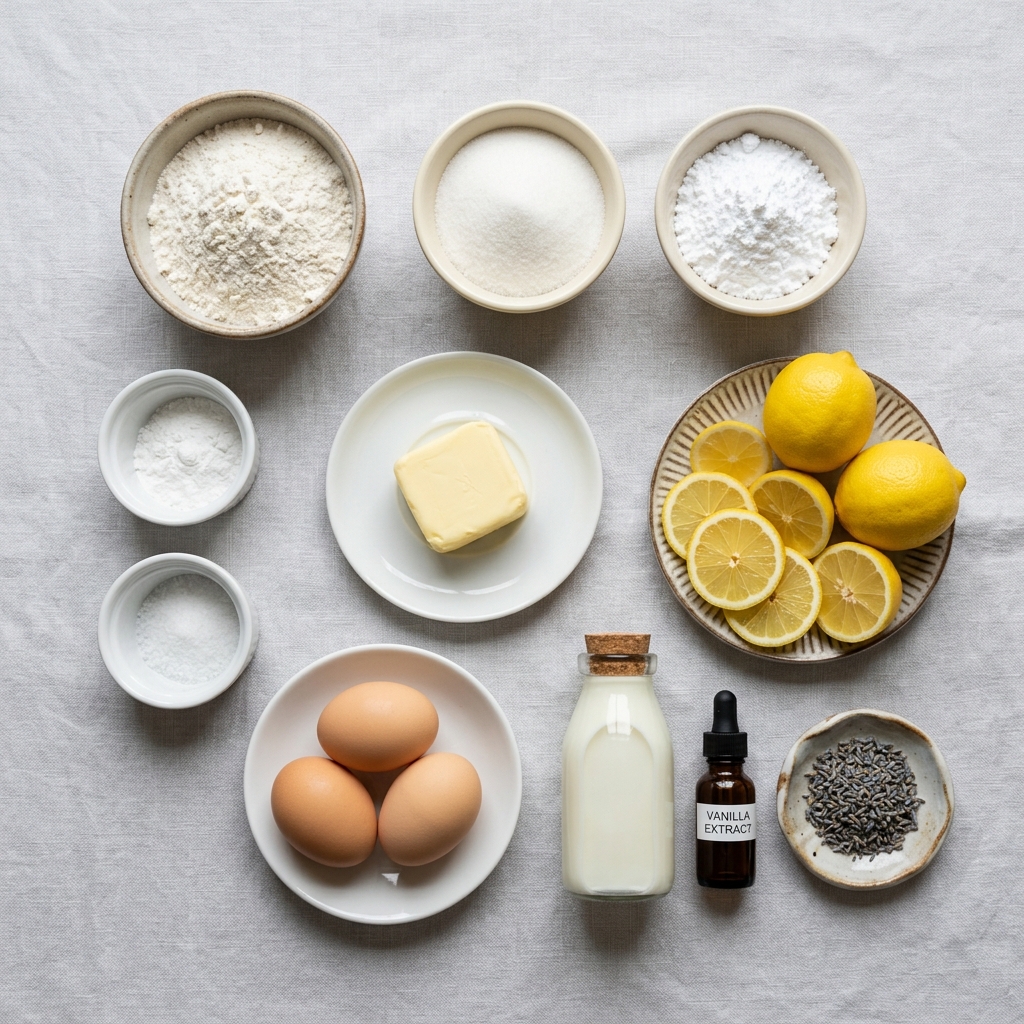
The beauty of this recipe comes from simple ingredients working together perfectly. Every ingredient adds something important, whether it’s moisture, color, flavor, or texture.
- All-Purpose Flour: 1 ¼ cups, creates the structure while keeping the crumb soft.
- Unsweetened Cocoa Powder: 1 tablespoon, adds subtle chocolate flavor.
- Baking Soda: ½ teaspoon, helps the cupcakes rise beautifully.
- Salt: ¼ teaspoon, balances the sweetness.
- Granulated Sugar: ¾ cup, sweetens the batter and keeps it tender.
- Vegetable Oil: ½ cup, creates a moist texture that stays soft for days.
- Buttermilk: ½ cup, adds tanginess and softness.
- Large Egg: 1, helps bind the batter together.
- Vanilla Extract: 1 teaspoon, enhances the overall flavor.
- White Vinegar: ½ teaspoon, reacts with the baking soda for a fluffy texture.
- Red Food Coloring: 1 tablespoon, gives the cupcakes their signature vibrant color.
- Cream Cheese: 8 ounces, softened for smooth frosting.
- Unsalted Butter: ¼ cup, softened for rich frosting texture.
- Powdered Sugar: 2 cups, sweetens and thickens the frosting.
Easy Ingredient Swaps You Can Try
Sometimes you need a quick substitute, and thankfully these cupcakes are flexible.
Buttermilk: Mix regular milk with a teaspoon of lemon juice or vinegar.
Vegetable Oil: Melted unsalted butter works too, though the texture may be slightly denser.
Cream Cheese: Mascarpone creates a milder frosting flavor.
Vanilla Extract: Almond extract adds a slightly nutty twist.
The Ingredients That Truly Make the Magic Happen
Some ingredients completely define this dessert, and these two deserve the spotlight.
Buttermilk: This gives the cupcakes their signature tender crumb and subtle tangy flavor.
Cream Cheese: The frosting’s creamy richness balances the sweetness perfectly and creates that iconic finish everyone loves.
Let’s Bake These Beautiful Cupcakes Together
Now comes the fun part. Your kitchen is about to smell absolutely incredible.
- Preheat Your Equipment: Preheat your oven to 350°F and line a cupcake pan with 12 cupcake liners.
- Combine Ingredients: In one bowl, whisk together flour, cocoa powder, baking soda, and salt. In another bowl, mix sugar, oil, buttermilk, egg, vanilla, vinegar, and red food coloring until smooth. Gradually combine the dry ingredients into the wet mixture.
- Prepare Your Cooking Vessel: Arrange the cupcake liners neatly inside the cupcake pan.
- Assemble the Dish: Divide the batter evenly among the liners, filling each about two-thirds full.
- Cook to Perfection: Bake for 18 to 20 minutes until a toothpick inserted into the center comes out clean.
- Finishing Touches: Let the cupcakes cool completely. Beat cream cheese, butter, and powdered sugar until smooth and fluffy, then frost the cooled cupcakes generously.
- Serve and Enjoy: Serve immediately or chill slightly for an even creamier frosting texture.
The Texture and Flavor Are What Make These Irresistible
The first thing you notice is the ultra-soft crumb. It’s moist, fluffy, and almost melts in your mouth. Then the subtle cocoa flavor comes through, followed by the tanginess from the buttermilk and frosting.
The cream cheese frosting adds a smooth, creamy finish that balances every bite beautifully. And honestly, the contrast between the rich red cake and snowy frosting makes these cupcakes feel extra special before you even take a bite.
Helpful Baking Tricks for Better Results Every Time
Even simple recipes can benefit from a few smart baking habits.
- Let the cupcakes cool completely before frosting to avoid melting.
- Sift powdered sugar for smoother frosting.
- Rotate the cupcake pan halfway through baking for even color.
- Store cupcakes in the fridge if your kitchen is warm.
Mistakes You’ll Want to Avoid
These little details can make a surprisingly big difference.
- Overmixing the batter can create dense cupcakes instead of fluffy ones.
- Adding too much food coloring can slightly alter the flavor.
- Frosting warm cupcakes will cause the frosting to slide off.
- Skipping the vinegar reduces the classic red velvet texture.
A Quick Look at the Nutrition Information
Servings: 12 cupcakes
Calories per serving: Approximately 320
Note: These are approximate values.
Timing Everything Perfectly
Prep Time: 20 minutes
Cook Time: 20 minutes
Total Time: 40 minutes
How to Make Them Ahead and Store Them Properly
If you’re planning for a party or event, these cupcakes are perfect for prepping ahead. You can bake the cupcakes one day in advance and store them unfrosted in an airtight container at room temperature.
The frosting can be refrigerated separately for up to three days. Once frosted, keep the cupcakes chilled and let them sit at room temperature for about 15 minutes before serving for the best texture.
You can also freeze unfrosted cupcakes for up to two months.
The Best Ways to Serve These Cupcakes
These cupcakes pair beautifully with coffee, milk, or even hot chocolate. For parties, arrange them on a cake stand with a light dusting of red velvet crumbs on top.
Fresh berries also make a gorgeous pairing because the tartness balances the sweetness perfectly.
Fun Ways to Transform Leftovers
If you somehow end up with leftovers, there are plenty of delicious options.
Turn crumbled cupcakes into parfait layers with whipped cream. Mix cupcake crumbs into vanilla ice cream. Or create cake pops by combining crumbs with frosting and dipping them in melted chocolate.
Extra Little Tips for the Best Flavor
Small details can really elevate homemade cupcakes.
- Use high-quality vanilla extract for richer flavor.
- Chill the frosting slightly before piping decorative swirls.
- Add a tiny pinch of espresso powder to deepen the cocoa notes.
- Wipe your piping tip occasionally for cleaner frosting designs.
Make These Cupcakes Look Bakery-Worthy
Presentation makes everything feel more special. Pipe tall frosting swirls and sprinkle a few cupcake crumbs over the top for that professional bakery look.
You can also top each cupcake with white chocolate curls or festive sprinkles depending on the occasion.
Delicious Variations You Can Experiment With
There are so many fun ways to customize these cupcakes.
- Chocolate Filled: Add a spoonful of chocolate ganache inside each cupcake.
- Mini Cupcakes: Make bite-sized versions for parties.
- Cookies and Cream: Add crushed chocolate sandwich cookies to the frosting.
- Strawberry Twist: Mix freeze-dried strawberry powder into the frosting.
- Layer Cake Version: Turn the batter into a classic cake instead of cupcakes.
FAQ’s
1. Can I make these cupcakes without food coloring?
Yes, the flavor stays the same, though the cupcakes will look more cocoa-colored than red.
2. Why is vinegar used in red velvet cupcakes?
It reacts with baking soda to create a softer texture.
3. Can I freeze frosted cupcakes?
Yes, though freezing unfrosted cupcakes gives the best texture.
4. How do I keep cupcakes moist?
Store them in an airtight container and avoid overbaking.
5. Can I use natural food coloring?
Yes, though the color may be less vibrant.
6. What frosting works besides cream cheese frosting?
Buttercream frosting also pairs beautifully.
7. Can I make these gluten-free?
Yes, use a 1:1 gluten-free flour blend.
8. Why did my cupcakes sink?
This usually happens from overmixing or opening the oven too early.
9. Can I make this recipe as a cake?
Absolutely, the batter works well in cake pans too.
10. How long do these cupcakes stay fresh?
They stay fresh for about 3 to 4 days when refrigerated properly.
Conclusion
These red velvet cupcakes are the kind of dessert that instantly makes people smile. They’re soft, rich, creamy, and filled with that classic flavor everyone loves. Whether you’re baking them for a celebration or just treating yourself after a long day, they always feel a little special. Trust me, once you make them from scratch, you’ll never want the bakery version again.
Print
Red Velvet Cupcakes Recipe
- Prep Time: 20 minutes
- Cook Time: 20 minutes
- Total Time: 40 minutes
- Yield: 12 cupcakes 1x
- Category: Dessert
- Method: Baking
- Cuisine: American
- Diet: Vegetarian
Description
Soft and fluffy red velvet cupcakes topped with rich cream cheese frosting. These bakery-style cupcakes are moist, lightly chocolaty, and perfect for birthdays, holidays, or anytime dessert cravings.
Ingredients
- 1 ¼ cups all-purpose flour
- 1 tablespoon unsweetened cocoa powder
- ½ teaspoon baking soda
- ¼ teaspoon salt
- ¾ cup granulated sugar
- ½ cup vegetable oil
- ½ cup buttermilk
- 1 large egg
- 1 teaspoon vanilla extract
- ½ teaspoon white vinegar
- 1 tablespoon red food coloring
- 8 ounces cream cheese, softened
- ¼ cup unsalted butter, softened
- 2 cups powdered sugar
Instructions
- Preheat oven to 350°F and line a cupcake pan with 12 cupcake liners.
- In a bowl, whisk together flour, cocoa powder, baking soda, and salt.
- In another bowl, mix sugar, oil, buttermilk, egg, vanilla extract, vinegar, and red food coloring until smooth.
- Gradually add the dry ingredients into the wet ingredients and mix until combined.
- Fill cupcake liners about two-thirds full with batter.
- Bake for 18 to 20 minutes or until a toothpick inserted into the center comes out clean.
- Allow cupcakes to cool completely.
- Beat cream cheese, butter, and powdered sugar until smooth and fluffy.
- Pipe or spread frosting over cooled cupcakes and serve.
Notes
- Use room temperature ingredients for the fluffiest texture.
- Do not overmix the batter to keep cupcakes soft.
- Chill frosting slightly before piping for cleaner swirls.
- Store cupcakes refrigerated in an airtight container for up to 4 days.
Nutrition
- Serving Size: 1 cupcake
- Calories: 320
- Sugar: 28g
- Sodium: 180mg
- Fat: 16g
- Saturated Fat: 6g
- Unsaturated Fat: 9g
- Trans Fat: 0g
- Carbohydrates: 41g
- Fiber: 1g
- Protein: 3g
- Cholesterol: 38mg
Keywords: red velvet cupcakes, cream cheese frosting cupcakes, homemade cupcakes, moist cupcakes, classic red velvet dessert