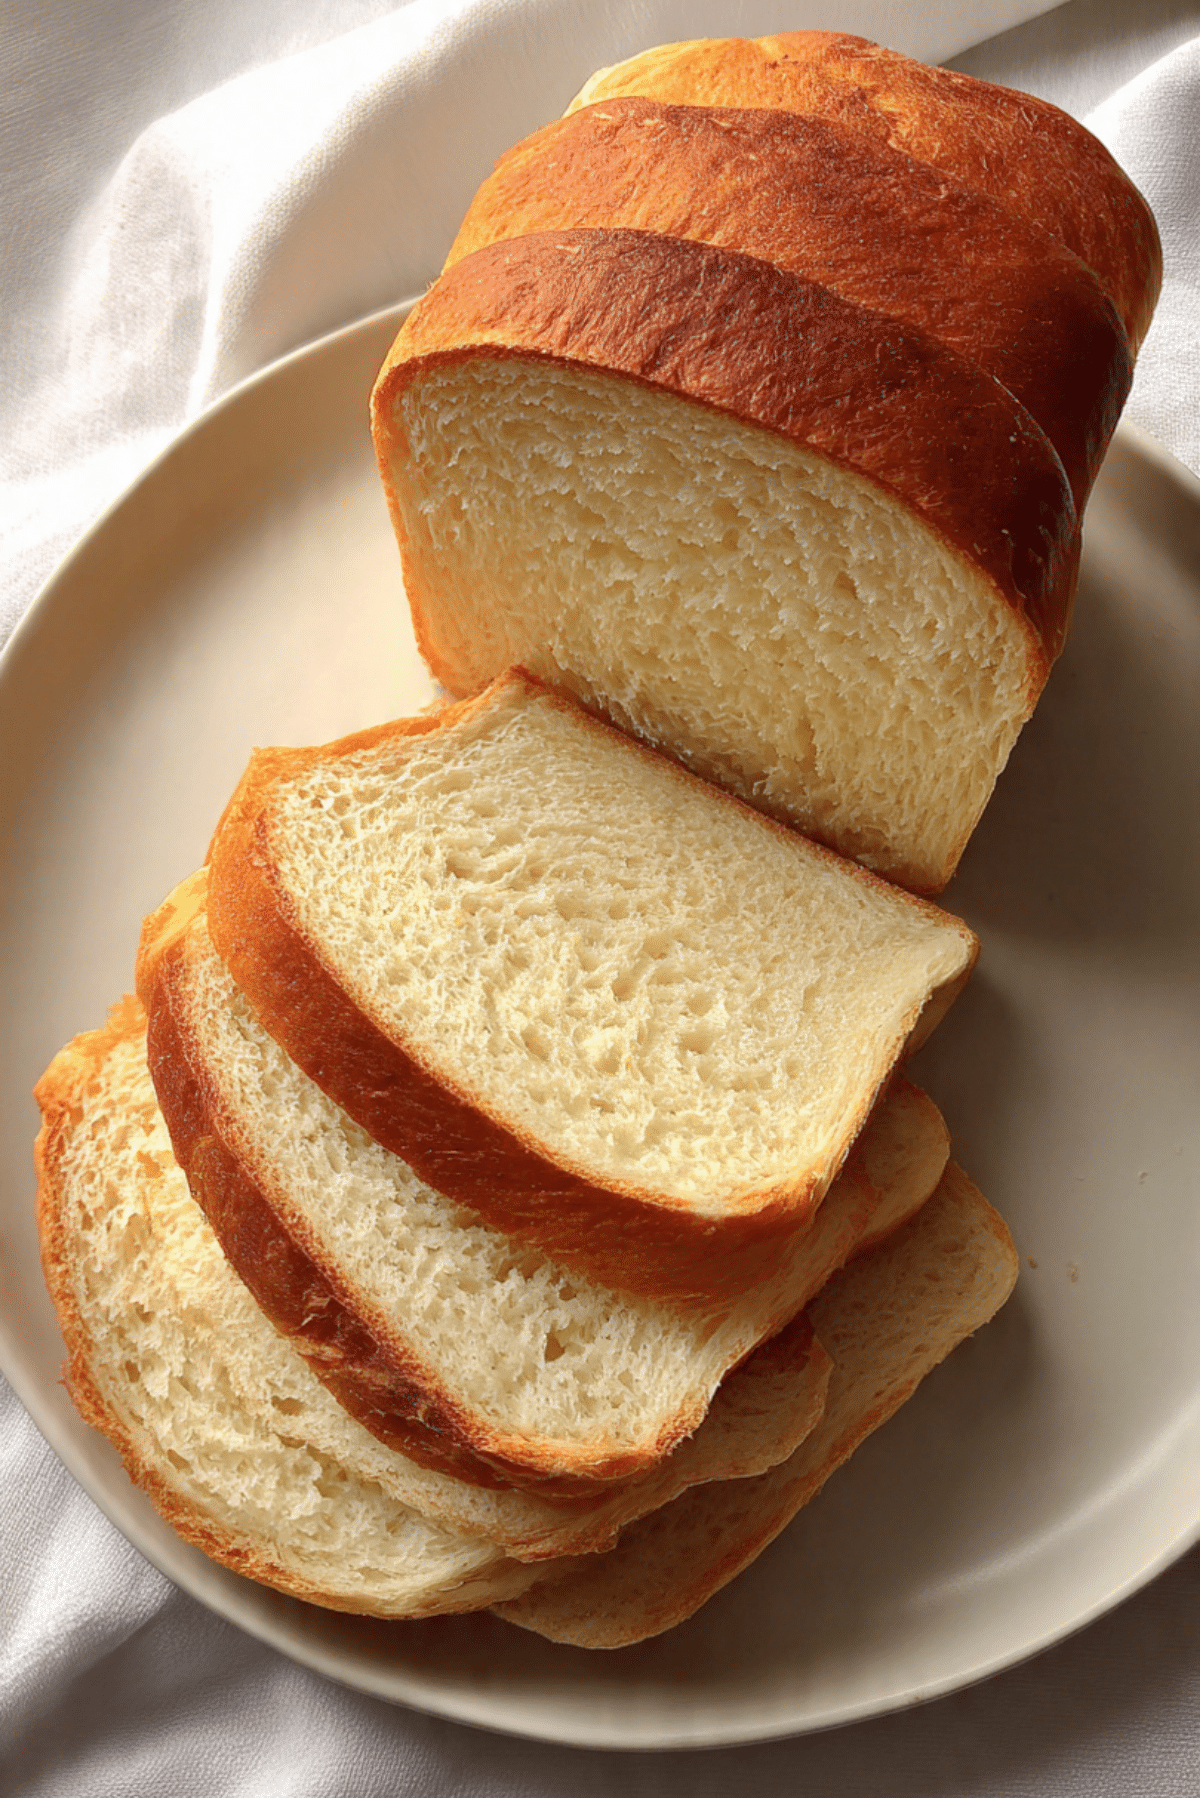
Soft Sourdough Sandwich Bread
There is something quietly comforting about slicing into a loaf that feels like it was made just for you. This soft sourdough sandwich bread brings that feeling right into your kitchen, with a tender crumb, a light tang, and a golden crust that is just the right balance between soft and structured. Trust me, you’re going to love this, especially when that first warm slice melts a bit of butter on contact.
Why This Bread Feels Like a Little Daily Luxury
It is not just bread, it is that perfect in-between of rustic and everyday comfort. The softness makes it ideal for sandwiches, while the sourdough adds a depth of flavor that feels a bit more special than your usual loaf. This one’s a total game-changer if you enjoy baking but still want something practical for daily use.
A Little Story Behind This Classic Loaf
Sourdough has been around for centuries, long before commercial yeast became common in kitchens. Bakers relied on wild fermentation, letting time and nature do the work. Over the years, soft sandwich versions became popular in homes where people wanted the flavor of sourdough without the dense chew of traditional loaves. It is that blend of tradition and comfort that makes this bread so loved today.
Why You Will Keep Coming Back to This Recipe
This loaf has a way of becoming part of your routine before you even realize it.
Versatile: It works beautifully for sandwiches, toast, or even just a slice on its own with a drizzle of honey.
Budget-Friendly: Simple pantry ingredients come together to create something that feels bakery-quality.
Quick and Easy: While sourdough takes some time, the steps themselves are simple and very manageable.
Customizable: You can adjust sweetness, softness, or even add seeds if you like a bit of texture.
Crowd-Pleasing: Everyone loves a soft slice, especially when it has that subtle tang.
Make-Ahead Friendly: The dough can be prepared ahead and baked when you are ready.
Great for Leftovers: Stays soft for days and makes amazing toast later on.
Little Secrets That Make a Big Difference
Before we dive into the process, a few insider tips can really elevate your loaf.
- Use an active, bubbly starter for the best rise and flavor.
- Warm liquids help the dough come together smoothly.
- Knead until the dough feels soft and elastic, not sticky.
- Let it proof fully, patience is key for that fluffy texture.
Tools That Make This Process Smooth
Having the right tools makes everything feel easier and more enjoyable.
Mixing Bowl: A large bowl gives the dough space to expand.
Loaf Pan: Helps shape the bread into that classic sandwich form.
Dough Scraper: Makes handling the dough cleaner and easier.
Kitchen Scale: Ensures accurate measurements for consistent results.
Clean Towel: Keeps the dough covered during proofing.
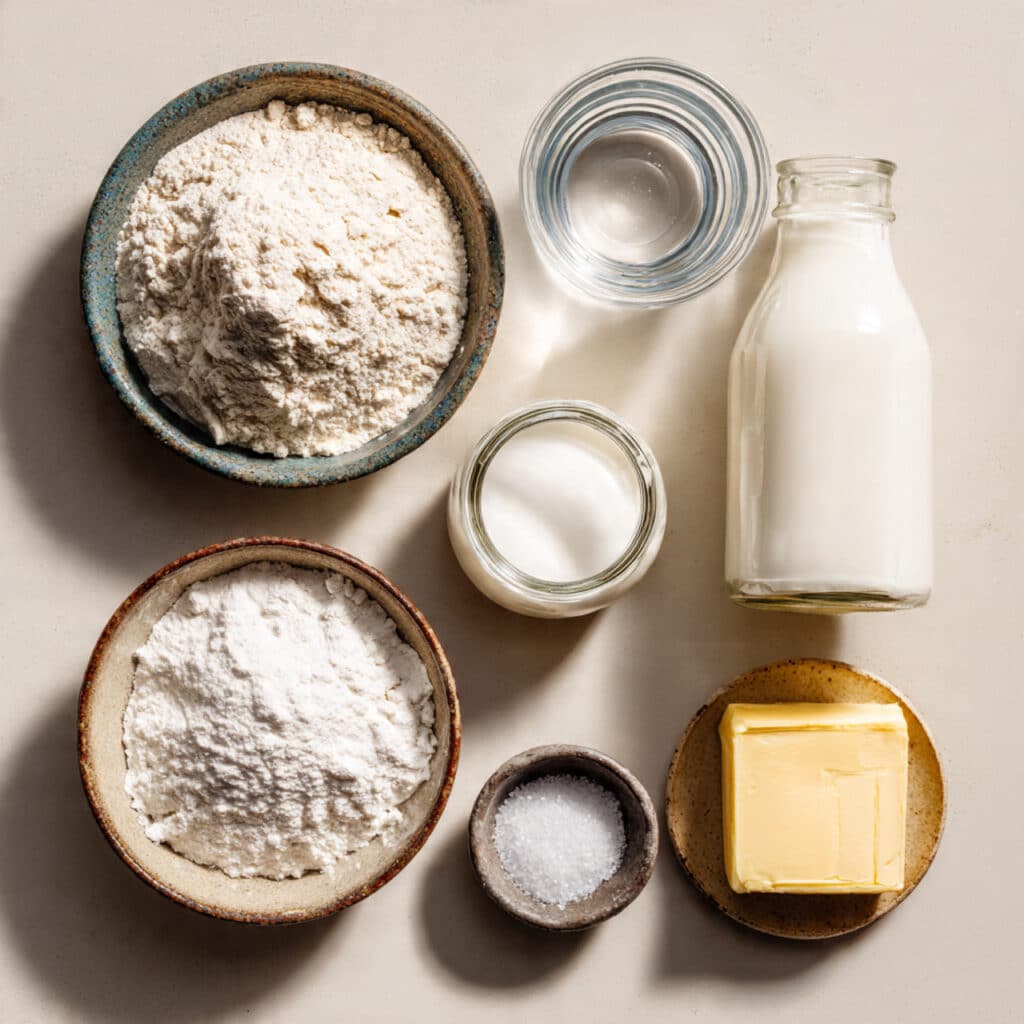
Ingredients That Work Together Beautifully
Now let’s look at what brings this loaf to life. Each ingredient has a role, and together they create something truly special.
- Bread Flour: 500 grams, gives structure and that soft yet sturdy crumb
- Sourdough Starter: 100 grams active starter, adds flavor and natural rise
- Warm Water: 200 milliliters, hydrates the dough and helps fermentation
- Milk: 100 milliliters, adds softness and a slightly rich taste
- Sugar: 30 grams, balances the tang and feeds the starter
- Salt: 10 grams, enhances flavor and controls fermentation
- Unsalted Butter: 40 grams softened, creates a tender, soft texture
Easy Swaps If You Want to Experiment
Sometimes you want to tweak things a bit, and that works just fine here.
Bread Flour: All-purpose flour, slightly softer structure
Milk: Plant-based milk, keeps it dairy-free
Butter: Olive oil, for a lighter texture
Sugar: Honey, adds a gentle floral sweetness
The Star Ingredients That Make It Shine
Some ingredients truly define this bread.
Sourdough Starter: This is the heart of the loaf, bringing that signature tang and natural rise.
Butter: It gives the bread its softness and that melt-in-your-mouth feel.
Let’s Bake This Together Step by Step
Now let’s dive into the process, and this is where it all starts to come together.
- Preheat Your Equipment: Lightly grease a loaf pan and set it aside.
- Combine Ingredients: In a large bowl, mix the flour, sugar, and salt. Add the sourdough starter, warm water, and milk, then mix until a dough forms.
- Prepare Your Cooking Vessel: Transfer the dough to a clean surface and knead for about 10 minutes until smooth and elastic. Add the butter gradually and knead until fully incorporated.
- Assemble the Dish: Shape the dough into a ball and place it in a greased bowl. Cover and let it rise until doubled in size.
- Cook to Perfection: Shape the dough into a loaf, place it in the pan, and let it rise again until it fills the pan. Bake at 180°C for about 30 minutes until golden brown.
- Finishing Touches: Remove from the oven and let it cool in the pan for a few minutes, then transfer to a rack.
- Serve and Enjoy: Slice once cooled and enjoy the soft, airy texture.
That Perfect Balance of Texture and Flavor
This bread has a soft, pillowy crumb that almost melts as you bite into it, while the crust stays thin and lightly golden. The flavor develops slowly during fermentation, giving you that gentle tang balanced with a hint of sweetness. Let me tell you, it’s worth every bite.
Helpful Tips for Even Better Results
A few small adjustments can make a big difference.
- Let the dough rise in a warm spot for better fermentation
- Do not rush the second proof, it helps the bread stay soft
- Use a sharp knife for clean slices
What to Avoid for the Best Outcome
Even simple recipes have a few pitfalls, but they are easy to avoid.
- Over-kneading can make the bread dense
- Under-proofing leads to a tight crumb
- Baking at too high heat can dry out the loaf
Nutrition at a Glance
Servings: 10 slices
Calories per serving: 180
Note: These are approximate values.
Time You Will Need
Prep Time: 20 minutes
Cook Time: 30 minutes
Total Time: 50 minutes
Make Ahead and Storage Tips
You can prepare the dough the night before and let it rise slowly in the fridge. Once baked, store the bread in an airtight container at room temperature for up to three days. It also freezes well, just slice it first for easy use later.
Serving Ideas That Feel Special
This bread is perfect for classic sandwiches, toasted with butter and jam, or even used for French toast. It pairs beautifully with both sweet and savory toppings.
Creative Ways to Use Leftovers
Turn leftover slices into croutons, bread pudding, or even a quick grilled sandwich. Nothing goes to waste here.
Extra Tips for the Best Experience
Keep your starter healthy and active, and always measure ingredients carefully. Small details really matter in baking.
Make It Look as Good as It Tastes
Brush the top with a little butter after baking for a soft shine. Slice evenly for that bakery-style presentation.
Variations to Try Next Time
Try adding seeds for texture, a touch of cinnamon for sweetness, or even a bit of whole wheat flour for a nuttier flavor.
FAQ’s
Q1: Can I use all-purpose flour instead of bread flour?
Yes, but the texture will be slightly softer and less structured.
Q2: How do I know my starter is ready?
It should be bubbly, active, and slightly doubled in size.
Q3: Can I make this without milk?
Yes, just replace it with water or plant-based milk.
Q4: Why is my bread dense?
It may be under-proofed or the starter was not active enough.
Q5: Can I freeze this bread?
Yes, slice it first and store in a freezer-safe bag.
Q6: How long does it stay fresh?
About three days at room temperature.
Q7: Can I add flavors like herbs or cheese?
Yes, just mix them into the dough before shaping.
Q8: What if my dough is too sticky?
Add a little more flour, but only a small amount at a time.
Q9: Do I need a loaf pan?
It helps with shape, but you can bake it free-form.
Q10: Can I speed up the process?
Not much, sourdough needs time for the best flavor.
Conclusion
This soft sourdough sandwich bread brings together comfort, flavor, and simplicity in the best way possible. Once you bake it, it is hard to go back to store-bought. So go ahead, give it a try, and enjoy every slice.
Print
Soft Sourdough Sandwich Bread
- Prep Time: 20 minutes
- Cook Time: 30 minutes
- Total Time: 50 minutes
- Yield: 10 slices 1x
- Category: Bread
- Method: Baking
- Cuisine: International
- Diet: Vegetarian
Description
A soft and tender sourdough sandwich bread with a light tang, fluffy crumb, and golden crust, perfect for everyday slices and comforting homemade meals.
Ingredients
- 500 grams bread flour
- 100 grams sourdough starter
- 200 milliliters warm water
- 100 milliliters milk
- 30 grams sugar
- 10 grams salt
- 40 grams unsalted butter
Instructions
- Lightly grease a loaf pan and set it aside.
- In a large bowl, mix the flour, sugar, and salt. Add the sourdough starter, warm water, and milk, then mix until a dough forms.
- Transfer the dough to a clean surface and knead for about 10 minutes until smooth and elastic. Add the butter gradually and knead until fully incorporated.
- Shape the dough into a ball and place it in a greased bowl. Cover and let it rise until doubled in size.
- Shape the dough into a loaf, place it in the pan, and let it rise again until it fills the pan.
- Bake at 180°C for about 30 minutes until golden brown.
- Remove from the oven and let it cool in the pan for a few minutes, then transfer to a rack.
- Slice once cooled and serve.
Notes
- Use an active sourdough starter for the best rise and flavor.
- Do not rush the proofing process for a soft texture.
- Store in an airtight container for up to three days.
- Slice before freezing for easy use later.
Nutrition
- Serving Size: 1 slice
- Calories: 180
- Sugar: 3g
- Sodium: 220mg
- Fat: 4g
- Saturated Fat: 2g
- Unsaturated Fat: 1.5g
- Trans Fat: 0g
- Carbohydrates: 30g
- Fiber: 1g
- Protein: 5g
- Cholesterol: 10mg
Keywords: soft sourdough sandwich bread, homemade sourdough bread, fluffy sourdough loaf, sandwich bread recipe