Homemade Bean Dip
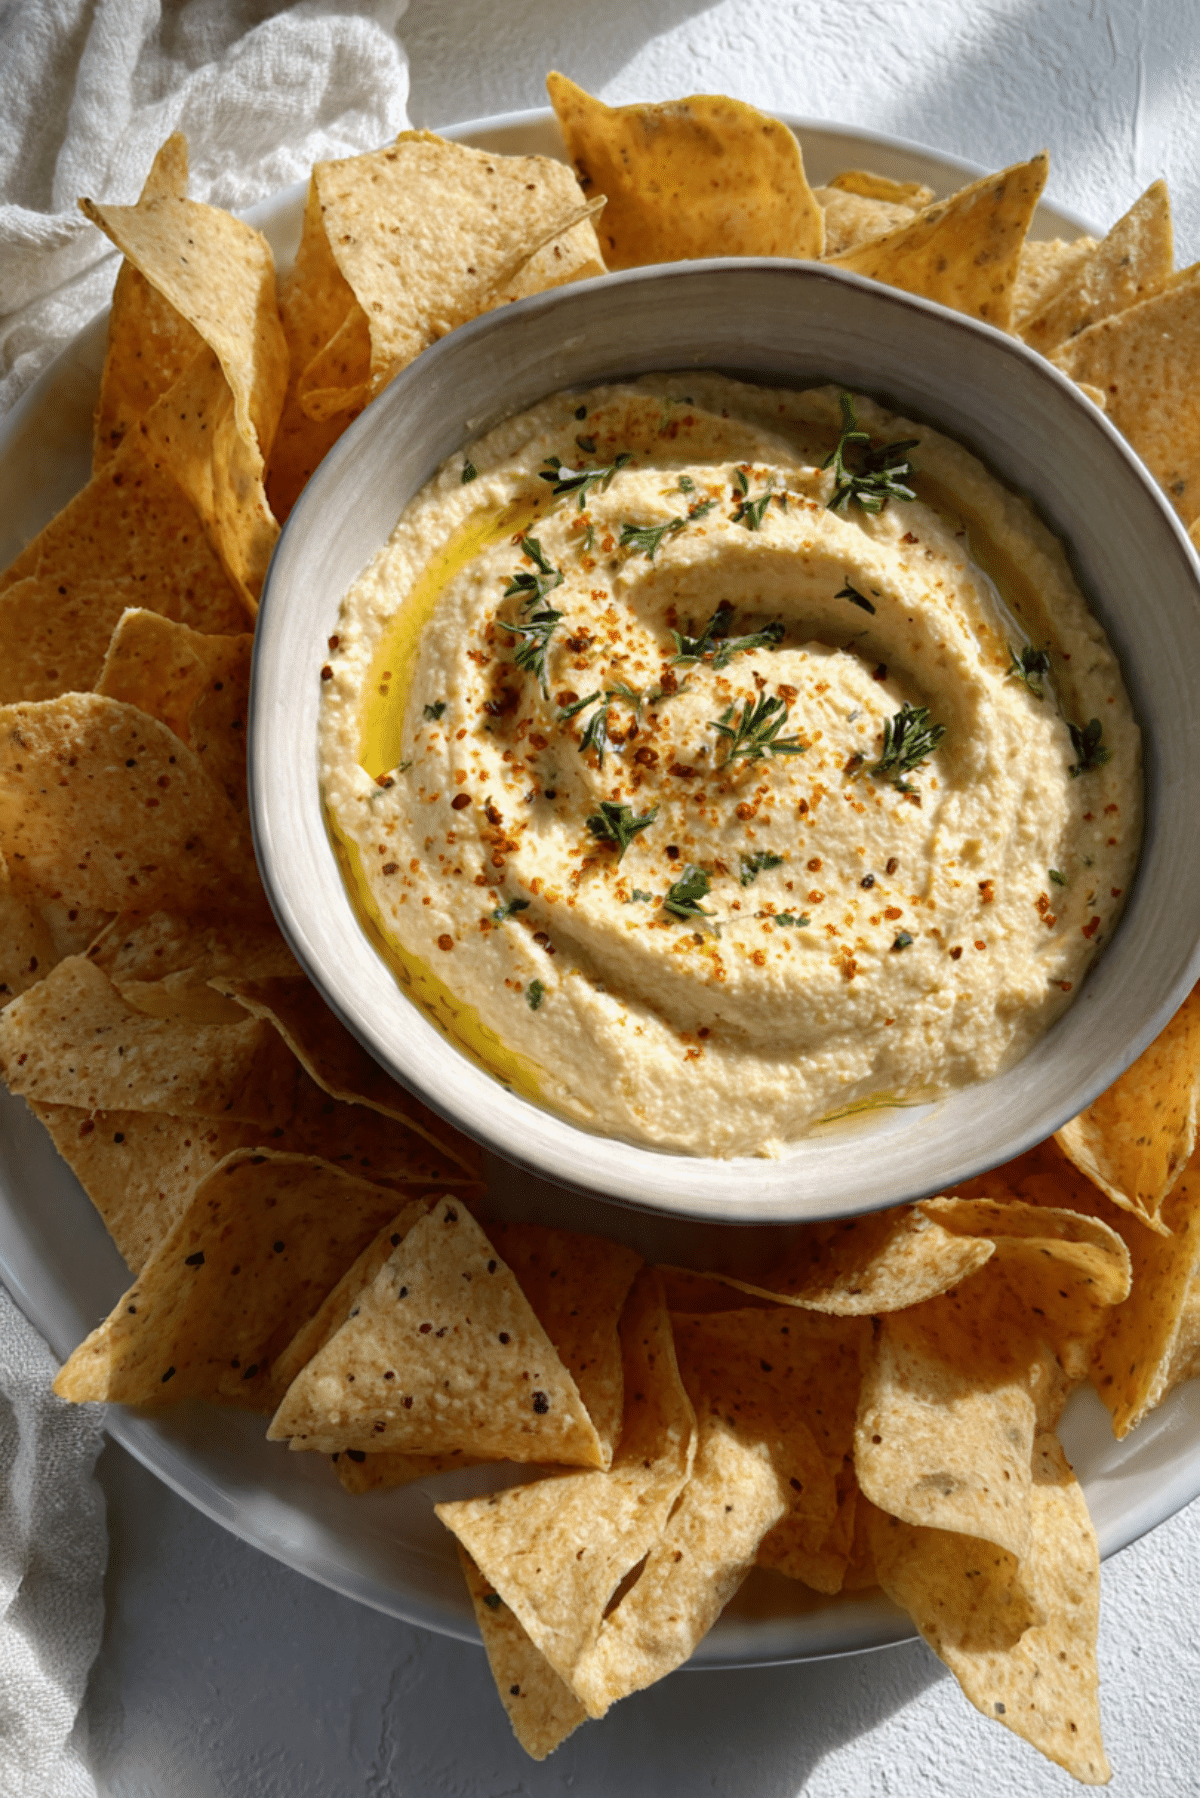
There is something incredibly comforting about a simple bowl of creamy bean dip sitting in the center of the table, ready to be scooped up with a crunchy chip. It is one of those recipes that feels effortless but delivers bold, satisfying flavor every single time. Trust me, you are going to love this, especially when you see how easy it is to bring together.
Why This Bean Dip Always Disappears First
It starts with that smooth, velvety texture and builds into a rich, slightly smoky flavor that keeps you coming back for more. Whether you are hosting friends or just craving something savory, this dip fits right in.
A Little Story Behind This Classic Dip
Bean dips have been a staple in many cultures, especially in Mexican and Tex-Mex cuisine where beans are a foundation ingredient. Over time, home cooks began creating their own versions, adding spices, citrus, and oils to bring out deeper flavors. And now let’s dive into why this version works so beautifully in any kitchen.
Why You Can Count on This Recipe Every Time
This is one of those recipes you will come back to again and again.
Versatile: It works as a dip, a spread, or even a filling for wraps and sandwiches.
Budget-Friendly: Beans and spices are affordable pantry staples that go a long way.
Quick and Easy: Everything comes together in minutes with minimal effort.
Customizable: You can adjust spices, texture, and acidity to match your taste.
Crowd-Pleasing: Creamy, flavorful, and comforting, it is always a hit.
Make-Ahead Friendly: It stores well and tastes even better after resting.
Great for Leftovers: Use it in bowls, tacos, or as a sandwich spread.
Pro Tips That Make a Big Difference
Before we jump into the ingredients, here are a few small secrets that elevate the flavor.
- Use freshly squeezed lemon juice for a brighter taste
- Warm the beans slightly before blending for a smoother texture
- Taste as you go and adjust seasoning gradually
- Blend longer than you think for that perfect creamy finish
Kitchen Tools That Make It Easy
You do not need anything fancy, just a few essentials.
Blender or Food Processor: Helps achieve that smooth, creamy texture.
Mixing Bowl: Useful if you prefer a chunkier texture.
Spatula: For scraping every bit of goodness from the bowl.
Serving Dish: A simple bowl makes it look inviting and ready to enjoy.
Ingredients That Bring It All Together
Now comes the heart of the recipe, where each ingredient plays its role perfectly.
- Cooked Beans: 2 cups, these create the creamy base and rich body
- Olive Oil: 2 tablespoons, adds smoothness and depth
- Garlic Cloves: 2 cloves, bring a bold, savory kick
- Lemon Juice: 2 tablespoons, brightens and balances the flavors
- Cumin Powder: 1 teaspoon, adds warmth and earthiness
- Paprika: 1 teaspoon, gives a subtle smoky touch
- Salt: 1 teaspoon, enhances all the flavors
- Black Pepper: 1/2 teaspoon, adds a gentle heat
Easy Swaps If You Need Them
Sometimes you work with what you have, and that is perfectly fine.
Cooked Beans: Use canned beans, just rinse and drain well
Olive Oil: Substitute with avocado oil for a mild flavor
Lemon Juice: Lime juice works just as beautifully
Garlic: Garlic powder can be used in a pinch
Spotlight on Key Ingredients
Let’s take a closer look at what really makes this dip shine.
Cooked Beans: They create that creamy texture and absorb all the flavors beautifully.
Cumin Powder: This spice adds a warm, earthy depth that defines the dip.

Let’s Make It Step by Step
Now the fun part begins, and it is simpler than you might expect.
- Preheat Your Equipment: No heating needed, but ensure your blender or processor is clean and ready
- Combine Ingredients: Add beans, olive oil, garlic, lemon juice, cumin, paprika, salt, and pepper into the blender
- Prepare Your Cooking Vessel: Lightly grease your serving bowl if desired for easier serving
- Assemble the Dish: Blend everything until smooth or slightly chunky based on your preference
- Cook to Perfection: No cooking required, but you can gently warm the dip if you prefer it warm
- Finishing Touches: Taste and adjust seasoning, add a drizzle of olive oil on top if desired
- Serve and Enjoy: Serve immediately with chips, veggies, or bread
The Magic of Texture and Flavor
This dip strikes a perfect balance between creamy and slightly textured. The beans provide a soft base, while garlic and spices bring layers of flavor that develop with every bite. The citrus adds brightness that keeps it from feeling too heavy.
Helpful Tips for the Best Results
A few small tweaks can make a big difference.
- Blend in stages for better control over texture
- Add a splash of water if the dip feels too thick
- Let it rest for 10 minutes before serving for deeper flavor
Common Mistakes to Avoid
Even simple recipes have a few traps, but they are easy to avoid.
- Using too much liquid, which can make the dip runny
- Skipping seasoning adjustments, which can leave it flat
- Not blending enough, resulting in uneven texture
Nutrition Snapshot
Servings: 4
Calories per serving: 180
Note: These are approximate values.
Time Breakdown
Prep Time: 10 minutes
Cook Time: 0 minutes
Total Time: 10 minutes
Make It Ahead and Store It Right
This dip actually gets better as it sits. Store it in an airtight container in the fridge for up to 4 days. You can also freeze it for longer storage, just thaw and stir well before serving.
Serving Ideas That Make It Shine
Serve it with crispy tortilla chips, fresh veggie sticks, or warm pita bread. It also works beautifully as a spread in wraps or sandwiches.
Turn Leftovers Into Something New
Use leftover dip as a base for grain bowls, spread it on toast, or mix it into rice for a quick flavorful side.
Extra Tips for Even Better Flavor
A drizzle of olive oil on top just before serving adds richness. A sprinkle of paprika or herbs can give it a fresh finish.
Make It Look as Good as It Tastes
Serve in a clean bowl with a smooth swirl on top. Add a light garnish for contrast and keep the presentation simple but inviting.
Fun Variations to Try
Try mixing things up once you master the base.
- Add roasted red peppers for a sweet smoky twist
- Blend in fresh herbs like cilantro for brightness
- Add chili flakes for a spicy kick
- Mix in yogurt for extra creaminess
FAQ’s
1. Can I use canned beans?
Yes, just rinse and drain them well before using.
2. How do I make it smoother?
Blend longer and add a small amount of water or oil.
3. Can I make it ahead of time?
Absolutely, it tastes even better after resting.
4. Is this dip served hot or cold?
It can be enjoyed both ways, depending on preference.
5. Can I freeze it?
Yes, store in an airtight container and thaw before use.
6. What beans work best?
Most beans work, but mild varieties give the best base.
7. How long does it last in the fridge?
Up to 4 days when stored properly.
8. Can I make it spicy?
Yes, add chili flakes or hot sauce.
9. What can I serve it with?
Chips, veggies, bread, or wraps.
10. Can I skip the garlic?
Yes, but it will slightly change the flavor.
Conclusion
And there you have it, a simple yet incredibly satisfying dip that fits any occasion. It is creamy, flavorful, and so easy to make that you will find yourself coming back to it again and again. Let me tell you, it is worth every bite.
Print
Homemade Bean Dip
- Prep Time: 10 minutes
- Cook Time: 0 minutes
- Total Time: 10 minutes
- Yield: 4 servings 1x
- Category: Appetizer
- Method: Blending
- Cuisine: Tex-Mex
- Diet: Vegan
Description
A creamy and flavorful homemade bean dip made with simple pantry ingredients, perfect for dipping, spreading, or adding to your favorite dishes.
Ingredients
- 2 cups cooked beans
- 2 tablespoons olive oil
- 2 garlic cloves
- 2 tablespoons lemon juice
- 1 teaspoon cumin powder
- 1 teaspoon paprika
- 1 teaspoon salt
- 1/2 teaspoon black pepper
Instructions
- Prepare your blender or food processor and make sure it is clean and ready to use.
- Add the cooked beans, olive oil, garlic cloves, lemon juice, cumin powder, paprika, salt, and black pepper into the blender.
- Blend the mixture until smooth or slightly chunky depending on your preferred texture.
- If the dip is too thick, add a small splash of water and blend again until desired consistency is reached.
- Taste the dip and adjust seasoning if needed.
- Transfer the dip into a serving bowl.
- Optionally drizzle a little olive oil on top before serving and enjoy with chips, vegetables, or bread.
Notes
- Use freshly squeezed lemon juice for the best flavor.
- Warm the beans slightly before blending for a smoother texture.
- Blend longer for an extra creamy consistency.
- Let the dip rest for a few minutes before serving to enhance flavor.
Nutrition
- Serving Size: 1 serving
- Calories: 180
- Sugar: 2g
- Sodium: 300mg
- Fat: 7g
- Saturated Fat: 1g
- Unsaturated Fat: 6g
- Trans Fat: 0g
- Carbohydrates: 22g
- Fiber: 6g
- Protein: 7g
- Cholesterol: 0mg
Keywords: bean dip, homemade dip, vegan dip, easy appetizer, creamy bean dip