Godiva Chocolate Cheesecake Recipe
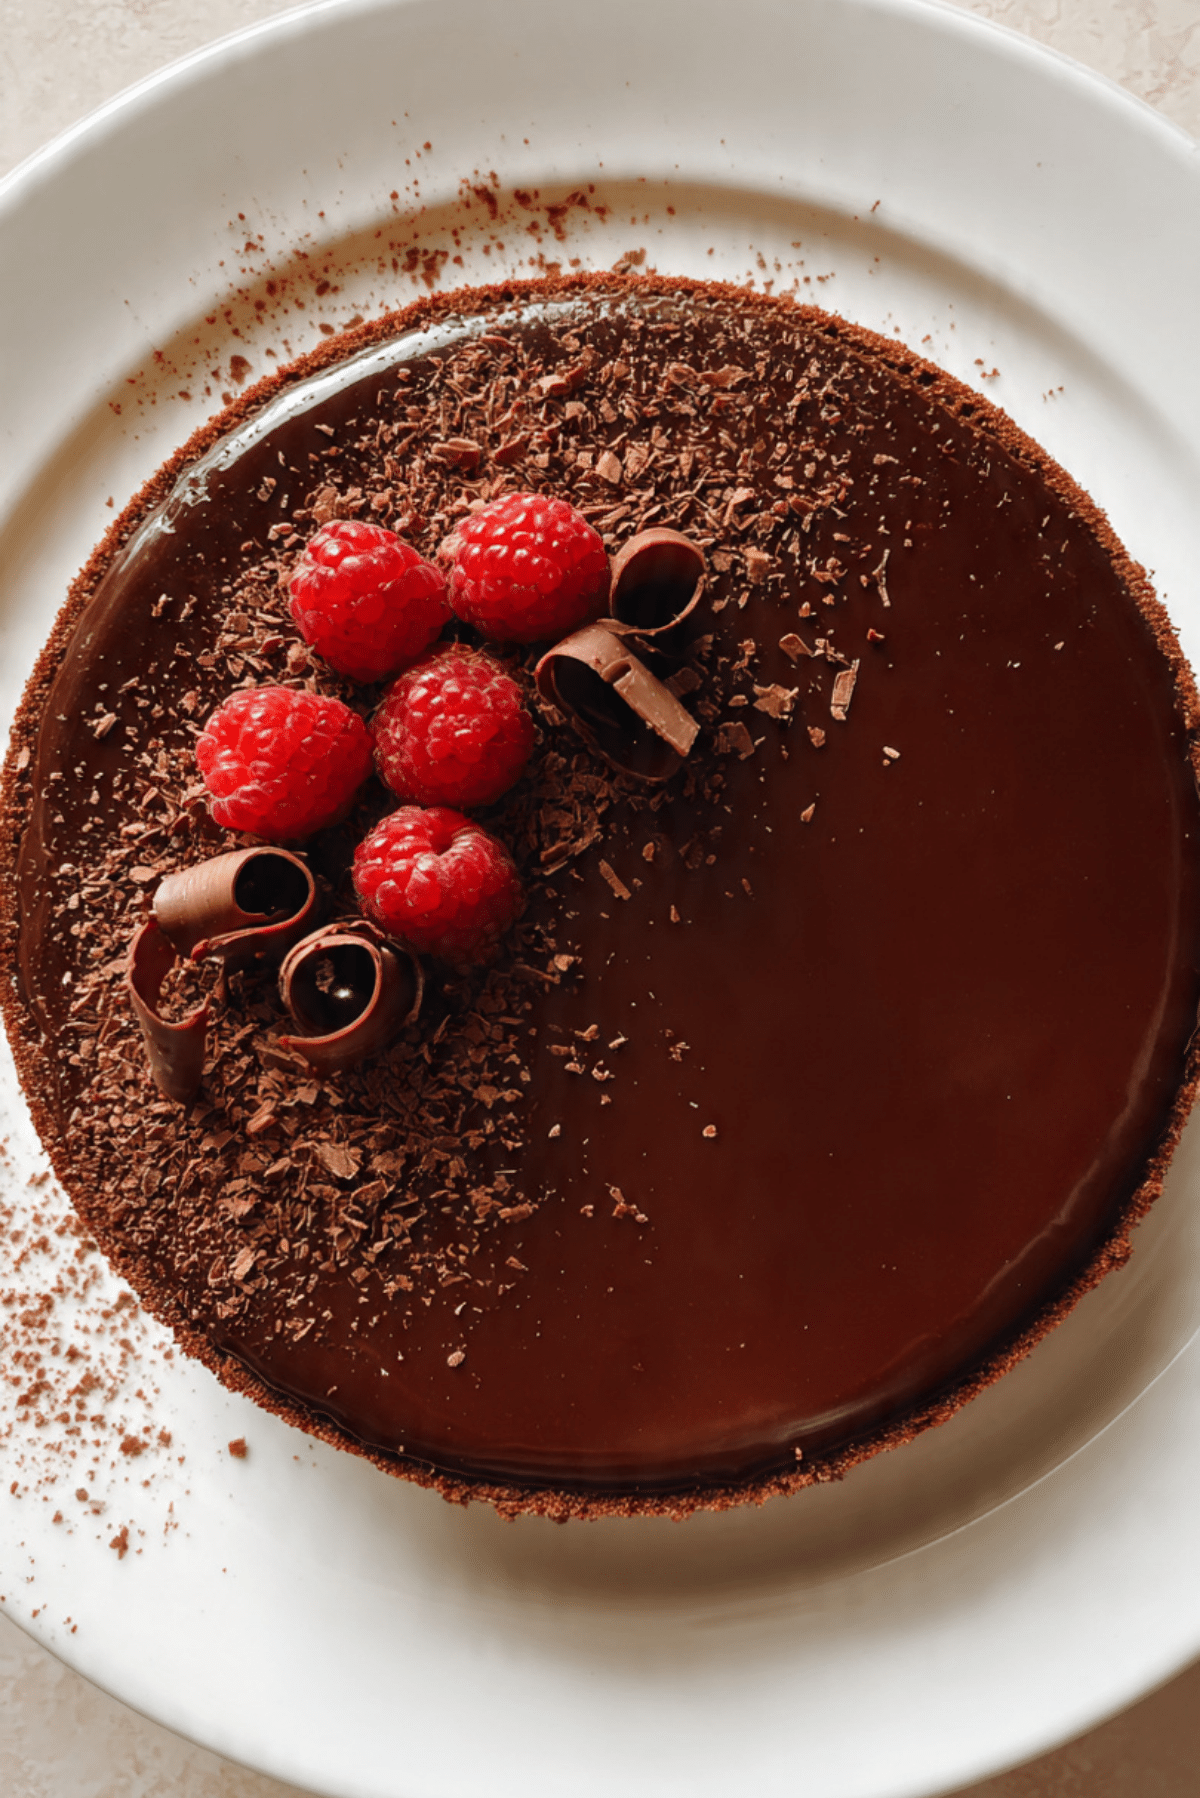
Rich, velvety, and utterly indulgent, this Godiva Chocolate Cheesecake is everything a chocolate lover dreams of. With its smooth, creamy texture and deep cocoa flavor layered into a crisp cookie crust, every bite delivers a moment of pure dessert bliss. Topped with a glossy chocolate ganache and a few berries for brightness, it’s a showstopping treat that feels both elegant and comforting. Whether you’re celebrating something special or just need a serious chocolate fix, this cheesecake is the answer.
Behind the Recipe
There’s something undeniably nostalgic about a good cheesecake, especially when it’s packed with premium chocolate. This Godiva version takes me back to one of those cozy winter dinners at home where dessert was the real highlight. I remember helping my mom melt the chocolate, sneaking spoonfuls of the filling before it even hit the oven. That glossy ganache finish was always her signature touch, and now it’s mine too. This recipe is my way of bringing that memory to your table, one slice at a time.
Recipe Origin or Trivia
Cheesecake has a fascinating history, stretching all the way back to Ancient Greece. But it wasn’t until cream cheese became widely available in the 1900s that the New York-style version we all love today took shape. Adding chocolate to the mix wasn’t far behind, with brands like Godiva elevating it to a luxury dessert. Godiva, known for its smooth Belgian chocolate, blends beautifully into cheesecake, lending a silky richness that’s hard to beat. This dessert is the perfect fusion of classic technique and gourmet flair.
Why You’ll Love Godiva Chocolate Cheesecake
There are so many reasons this recipe deserves a spot in your favorites list. Here’s what makes it stand out:
Versatile: Whether it’s a birthday, date night, or just a weekend treat, this cheesecake fits every occasion.
Budget-Friendly: Using a small amount of high-quality chocolate makes a big flavor impact without breaking the bank.
Quick and Easy: It’s surprisingly straightforward for a dessert that looks bakery-level.
Customizable: Top it with berries, drizzle with caramel, or swirl in peanut butter for a twist.
Crowd-Pleasing: Everyone loves a creamy, chocolatey slice of heaven.
Make-Ahead Friendly: Prep it the night before and let it chill to perfection.
Great for Leftovers: Stores beautifully in the fridge for days of sweet satisfaction.
Chef’s Pro Tips for Perfect Results
To help your cheesecake come out flawless, here are a few tricks I’ve learned along the way:
- Room Temperature Ingredients: Let your cream cheese, eggs, and sour cream sit out so they blend smoothly without lumps.
- Water Bath Magic: Bake your cheesecake in a water bath to prevent cracks and keep the texture ultra creamy.
- Low and Slow: Avoid overbaking. The center should still jiggle slightly when it’s done.
- Chill Time is Key: Refrigerate for at least 6 hours, or overnight if possible, for the best texture and flavor.
- Use Quality Chocolate: The better the chocolate, the deeper the flavor. Godiva brings a luxurious richness that really shines.
Kitchen Tools You’ll Need
Having the right tools on hand can make this recipe even smoother to execute:
Springform Pan: Essential for easy removal and that classic cheesecake shape.
Electric Mixer: Helps achieve a perfectly smooth filling.
Mixing Bowls: For combining crust and filling ingredients.
Rubber Spatula: Great for scraping down the bowl and smoothing the top.
Baking Sheet: To support the springform pan in the water bath.
Foil: To wrap the outside of the pan and prevent leaks.
Measuring Cups and Spoons: For accuracy in every step.
Ingredients in Godiva Chocolate Cheesecake
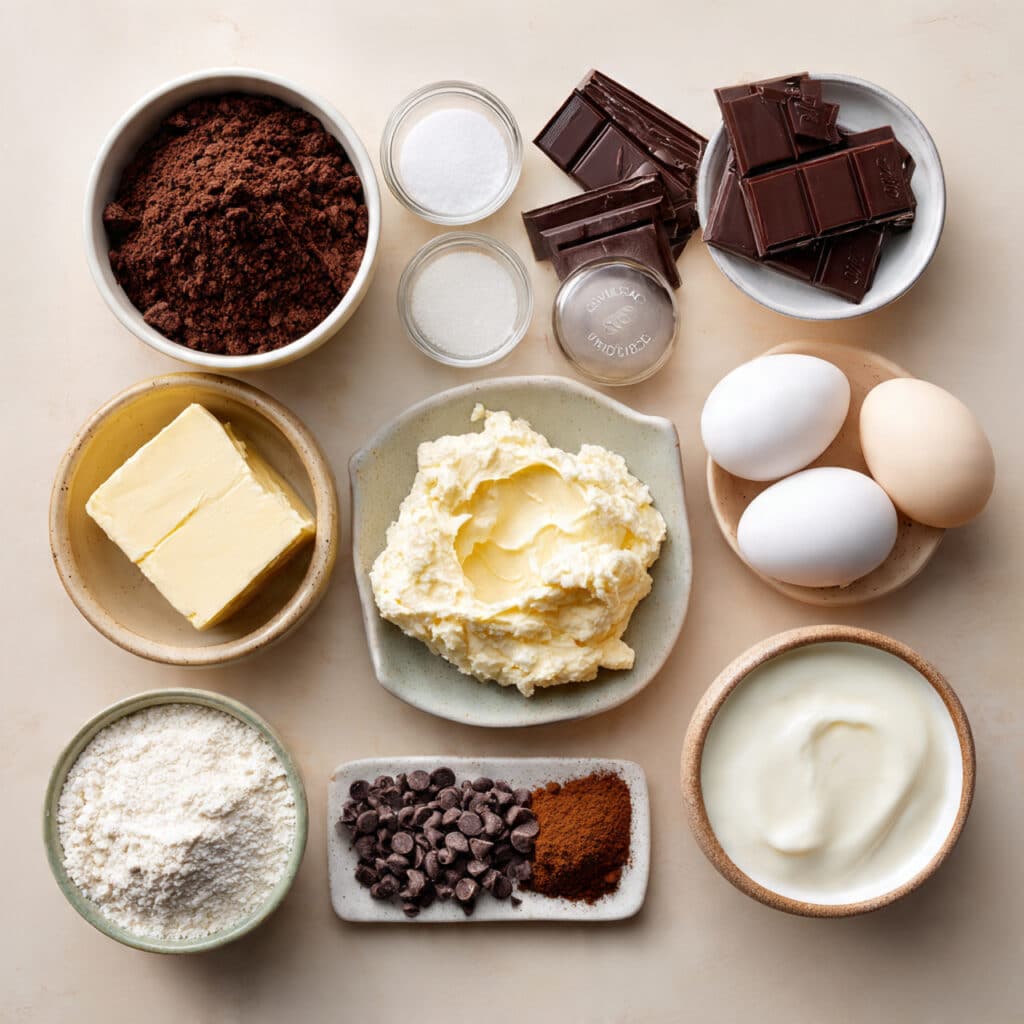
This recipe brings together rich, creamy, and chocolatey ingredients that melt into each other for an unforgettable bite:
- Chocolate Cookie Crumbs: 1 and 1/2 cups – Forms the base with a hint of crunch and deep cocoa notes.
- Granulated Sugar: 1/4 cup (for crust) + 1 cup (for filling) – Sweetens both crust and creamy filling.
- Unsalted Butter: 6 tablespoons, melted – Binds the crust and adds richness.
- Cream Cheese: 24 ounces (3 blocks), softened – The star of the show, bringing creamy texture.
- Godiva Dark Chocolate: 8 ounces, melted and cooled – Infuses the filling with premium chocolate flavor.
- Heavy Cream: 1/2 cup – Adds smoothness and richness to the texture.
- Sour Cream: 1/2 cup – Balances the sweetness and enhances creaminess.
- Eggs: 3 large – Provide structure and bind everything together.
- Vanilla Extract: 1 teaspoon – Adds warmth and depth to the flavor.
- Cocoa Powder: 2 tablespoons, unsweetened – Intensifies the chocolate flavor.
- Semi-Sweet Chocolate Chips: 1/2 cup (for ganache topping) – Melted into a glossy topping.
Ingredient Substitutions
Need to tweak the recipe? No worries. Here are some easy swaps:
Chocolate Cookie Crumbs: Graham crackers with cocoa powder.
Granulated Sugar: Coconut sugar or brown sugar for a deeper taste.
Cream Cheese: Neufchâtel cheese for a slightly lighter version.
Godiva Chocolate: Any high-quality dark chocolate bar.
Heavy Cream: Evaporated milk or full-fat coconut milk.
Sour Cream: Greek yogurt works well too.
Semi-Sweet Chips: Dark chocolate chunks or white chocolate chips.
Ingredient Spotlight
Godiva Dark Chocolate: This premium Belgian chocolate is known for its silky texture and deep cocoa taste, elevating any dessert it touches.
Cream Cheese: Smooth and tangy, it’s the backbone of every classic cheesecake and balances out the rich chocolate.
Instructions for Making Godiva Chocolate Cheesecake
Let’s walk through this chocolatey masterpiece together. Take your time and enjoy the process.
-
Preheat Your Equipment:
Preheat your oven to 325°F (163°C). Wrap the outside of a 9-inch springform pan with two layers of foil to prevent leaking during the water bath. -
Combine Ingredients:
Mix cookie crumbs, melted butter, and 1/4 cup sugar until the texture resembles wet sand. Press into the bottom of the pan to form the crust. Bake for 10 minutes, then set aside. -
Prepare Your Cooking Vessel:
Place the foil-wrapped springform pan into a larger baking dish. Boil water to pour into the outer dish for the water bath later. -
Assemble the Dish:
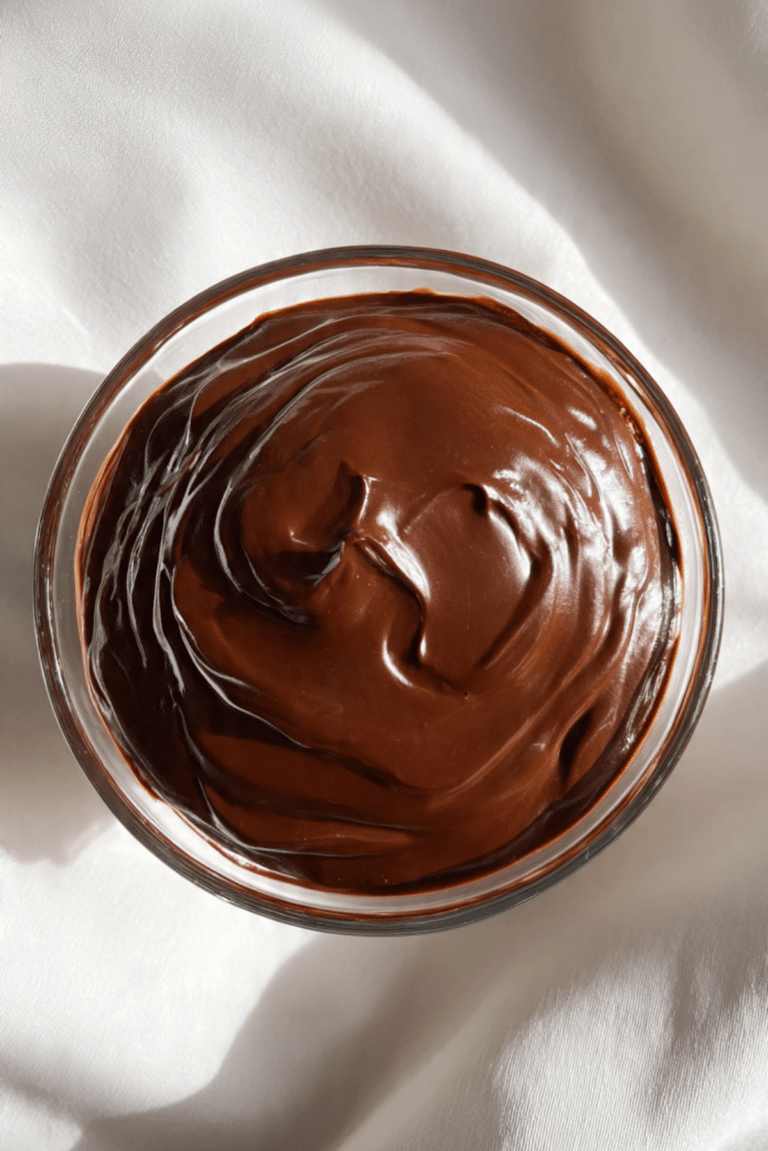
Beat the cream cheese until smooth, then add remaining sugar. Mix in sour cream, heavy cream, vanilla, cocoa powder, and melted Godiva chocolate. Add eggs one at a time, mixing gently. Pour over crust. -
Cook to Perfection:
Carefully pour hot water into the outer baking dish to create a water bath. Bake for 55–65 minutes until edges are set and center is slightly jiggly. -
Finishing Touches:
Let cool in the oven with the door slightly open for 1 hour. Chill in the fridge for at least 6 hours. Top with ganache made from melted chocolate chips and a splash of cream. -
Serve and Enjoy:
Slice with a warm knife, wipe between cuts, and serve with raspberries or a dusting of cocoa if you like.
Texture & Flavor Secrets
This cheesecake is all about contrast. The buttery cookie crust gives you a satisfying crunch, while the filling stays smooth and lush. The ganache on top adds a silky layer of richness. And the Godiva chocolate? It deepens the cocoa flavor without overpowering the creamy base.
Cooking Tips & Tricks
Here are a few helpful tips to guarantee delicious results every time:
- Use a hot knife to slice the cheesecake cleanly.
- Chill overnight for a firmer, more flavorful texture.
- Tap the pan gently before baking to release air bubbles.
What to Avoid
Even the best bakers make mistakes. Let’s steer clear of these common ones:
- Overmixing the batter, which adds air and can cause cracks.
- Skipping the water bath, which leads to uneven baking.
- Removing too soon from the pan—wait until it fully sets.
Nutrition Facts
Servings: 12
Calories per serving: 480
Note: These are approximate values.
Preparation Time
Prep Time: 25 minutes
Cook Time: 1 hour
Total Time: 7 hours (including chilling)
Make-Ahead and Storage Tips
This cheesecake is even better when made ahead. You can bake it the day before, chill overnight, and it’ll be ready to impress. Store in the fridge for up to 5 days or freeze slices individually wrapped for up to 2 months. Thaw in the fridge overnight before serving.
How to Serve Godiva Chocolate Cheesecake
This cheesecake pairs beautifully with fresh berries, a dollop of whipped cream, or a sprinkle of sea salt on top. Serve chilled for the best texture, and slice cleanly with a hot knife for presentation perfection.
Creative Leftover Transformations
Got extra slices? Try these fun twists:
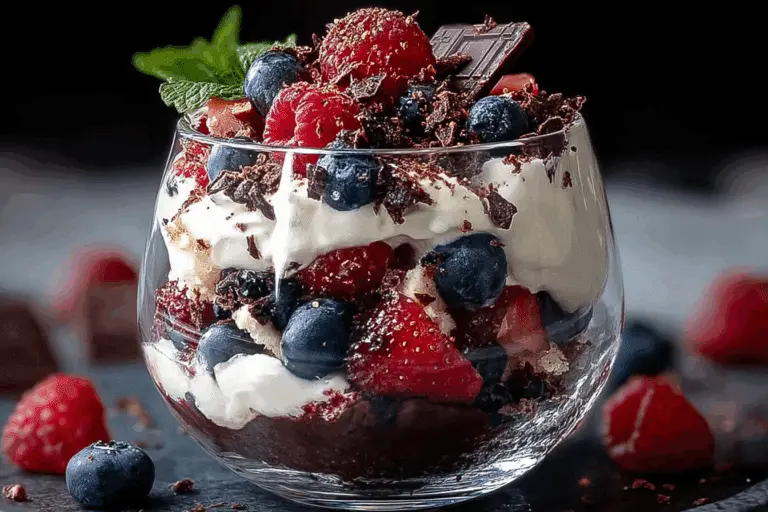
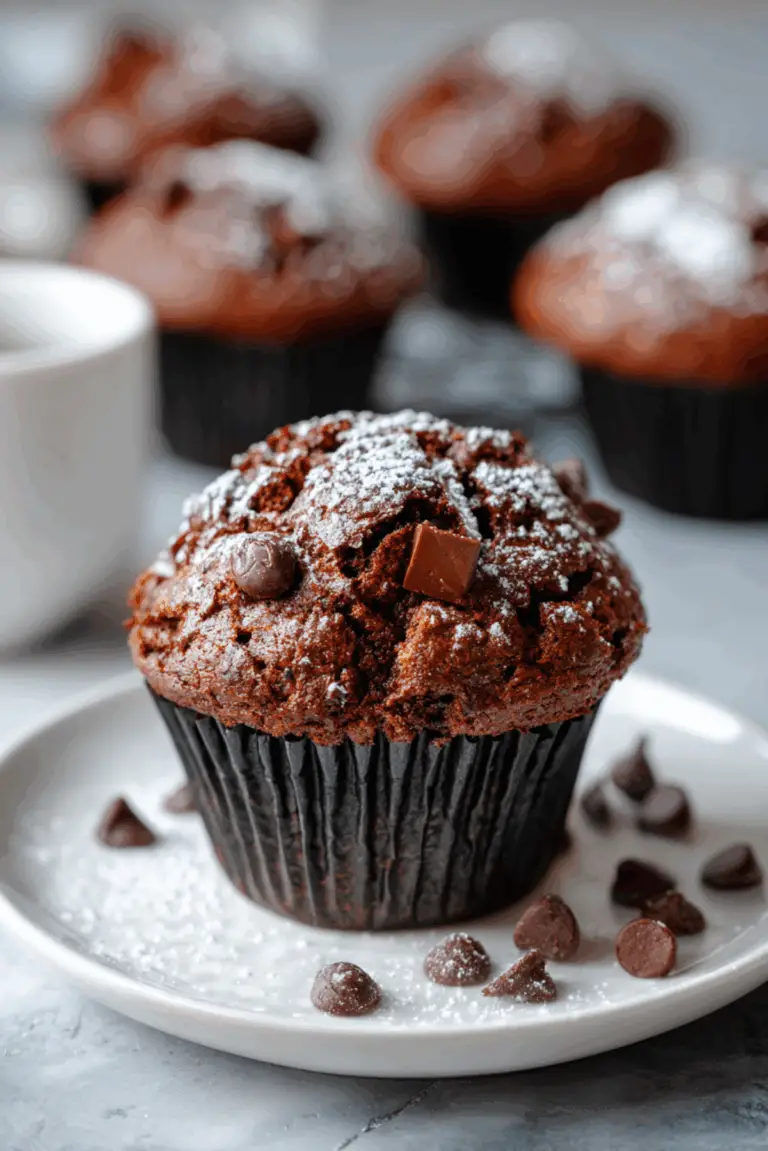
- Chop and fold into vanilla ice cream for a frozen treat.
- Layer into a dessert parfait with whipped cream and raspberries.
- Crumble over chocolate pudding or mousse for added richness.
Additional Tips
- Line the bottom of the springform pan with parchment for easier serving.
- Let the ganache cool slightly before spreading to avoid sinking into the cheesecake.
- If your crust feels too loose, chill it before baking to help it set better.
Make It a Showstopper
Presentation makes this cheesecake unforgettable. Add edible gold flakes, a chocolate drizzle, or arrange raspberries in a circular pattern on top. Serve on a white cake stand with a pop of color from fresh mint for a bakery-style finish.
Variations to Try
- Mocha Swirl: Add espresso powder to the filling for a coffee-chocolate twist.
- Raspberry Layer: Swirl raspberry puree into the batter before baking.
- Peanut Butter Crunch: Swirl in peanut butter and top with crushed peanuts.
- Salted Caramel Drizzle: Replace ganache with a thick caramel topping.
- Cookies and Cream: Use crushed chocolate sandwich cookies in the crust and filling.
FAQ’s
Q1: Can I use milk chocolate instead of dark chocolate?
A1: You can, but it will be sweeter and less rich. Dark chocolate gives the best depth of flavor.
Q2: How do I know if it’s fully baked?
A2: The edges should be set and the center slightly jiggly. It will continue to set as it cools.
Q3: Can I skip the ganache topping?
A3: Yes, but it adds a lovely texture and flavor contrast that enhances the whole dessert.
Q4: What if I don’t have a springform pan?
A4: You can use a deep dish pie plate, but it will be harder to remove clean slices.
Q5: Can I freeze the whole cheesecake?
A5: Absolutely. Wrap it tightly in plastic and foil, and freeze for up to 2 months.
Q6: How do I prevent cracks on top?
A6: Don’t overbake, and always cool gradually. A water bath helps too.
Q7: What type of cocoa powder should I use?
A7: Unsweetened natural cocoa works best for balance.
Q8: How long does it need to chill?
A8: At least 6 hours, but overnight is ideal.
Q9: Can I make it gluten free?
A9: Yes, just use gluten-free cookie crumbs for the crust.
Q10: How do I store leftovers?
A10: Keep covered in the fridge for up to 5 days, or freeze individual slices.
Conclusion
This Godiva Chocolate Cheesecake is the kind of dessert that turns a simple night into something memorable. With every creamy bite, you’ll taste the love, the chocolate, and the effort you put into making it. Whether you’re new to baking or a cheesecake pro, this one’s a total game-changer. Trust me, it’s worth every bite.
Print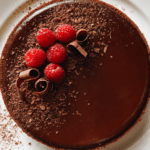
Godiva Chocolate Cheesecake Recipe
- Prep Time: 25 minutes
- Cook Time: 1 hour
- Total Time: 7 hours (including chilling)
- Yield: 12 servings 1x
- Category: Dessert
- Method: Baking
- Cuisine: American
- Diet: Vegetarian
Description
This Godiva Chocolate Cheesecake is rich, velvety, and indulgent with a buttery cookie crust, a luscious chocolate filling, and a glossy ganache topping. It’s perfect for special occasions or when you’re craving something truly decadent.
Ingredients
- 1 and 1/2 cups chocolate cookie crumbs
- 1/4 cup granulated sugar (for crust)
- 6 tablespoons unsalted butter, melted
- 24 ounces cream cheese, softened
- 1 cup granulated sugar (for filling)
- 8 ounces Godiva dark chocolate, melted and cooled
- 1/2 cup heavy cream
- 1/2 cup sour cream
- 3 large eggs
- 1 teaspoon vanilla extract
- 2 tablespoons unsweetened cocoa powder
- 1/2 cup semi-sweet chocolate chips (for ganache)
Instructions
- Preheat oven to 325°F (163°C). Wrap a 9-inch springform pan with foil to prevent leaks.
- Mix cookie crumbs, melted butter, and 1/4 cup sugar. Press into pan and bake for 10 minutes. Set aside.
- Place pan in a larger baking dish for a water bath. Boil water for later use.
- Beat cream cheese until smooth. Add remaining sugar, sour cream, heavy cream, vanilla, cocoa, and melted chocolate. Add eggs one at a time. Pour into crust.
- Pour hot water into outer baking dish. Bake for 55–65 minutes until edges are set and center jiggles slightly.
- Let cool in oven with door slightly open for 1 hour, then refrigerate for at least 6 hours.
- Melt chocolate chips with a splash of cream to make ganache. Spread on chilled cheesecake.
- Slice with a warm knife and serve with berries or cocoa dusting.
Notes
- Use room temperature ingredients for a smoother filling.
- Bake in a water bath to prevent cracks.
- Chill overnight for best flavor and texture.
- Use high-quality chocolate like Godiva for a rich, deep flavor.
- Clean your knife between slices for perfect presentation.
Nutrition
- Serving Size: 1 slice
- Calories: 480
- Sugar: 32g
- Sodium: 260mg
- Fat: 34g
- Saturated Fat: 20g
- Unsaturated Fat: 12g
- Trans Fat: 0g
- Carbohydrates: 39g
- Fiber: 2g
- Protein: 7g
- Cholesterol: 120mg
Keywords: Godiva Chocolate Cheesecake, chocolate cheesecake recipe, rich dessert, holiday dessert, easy cheesecake