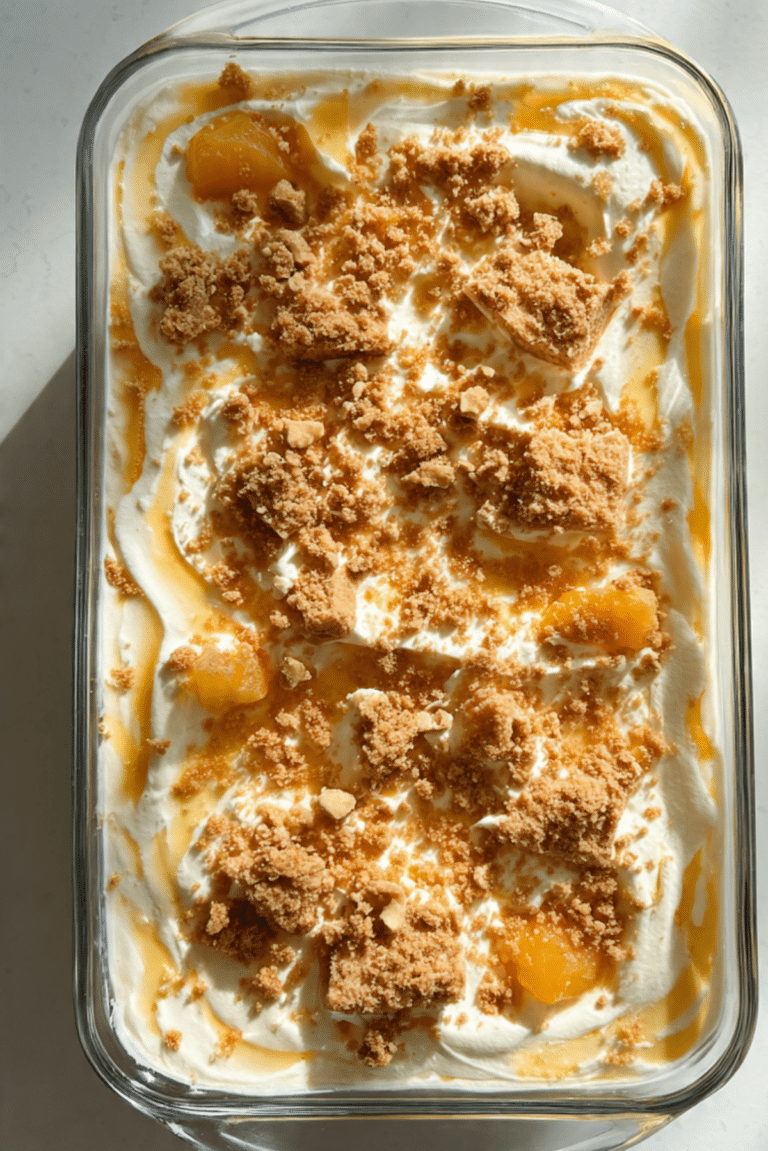
Apple Cobbler
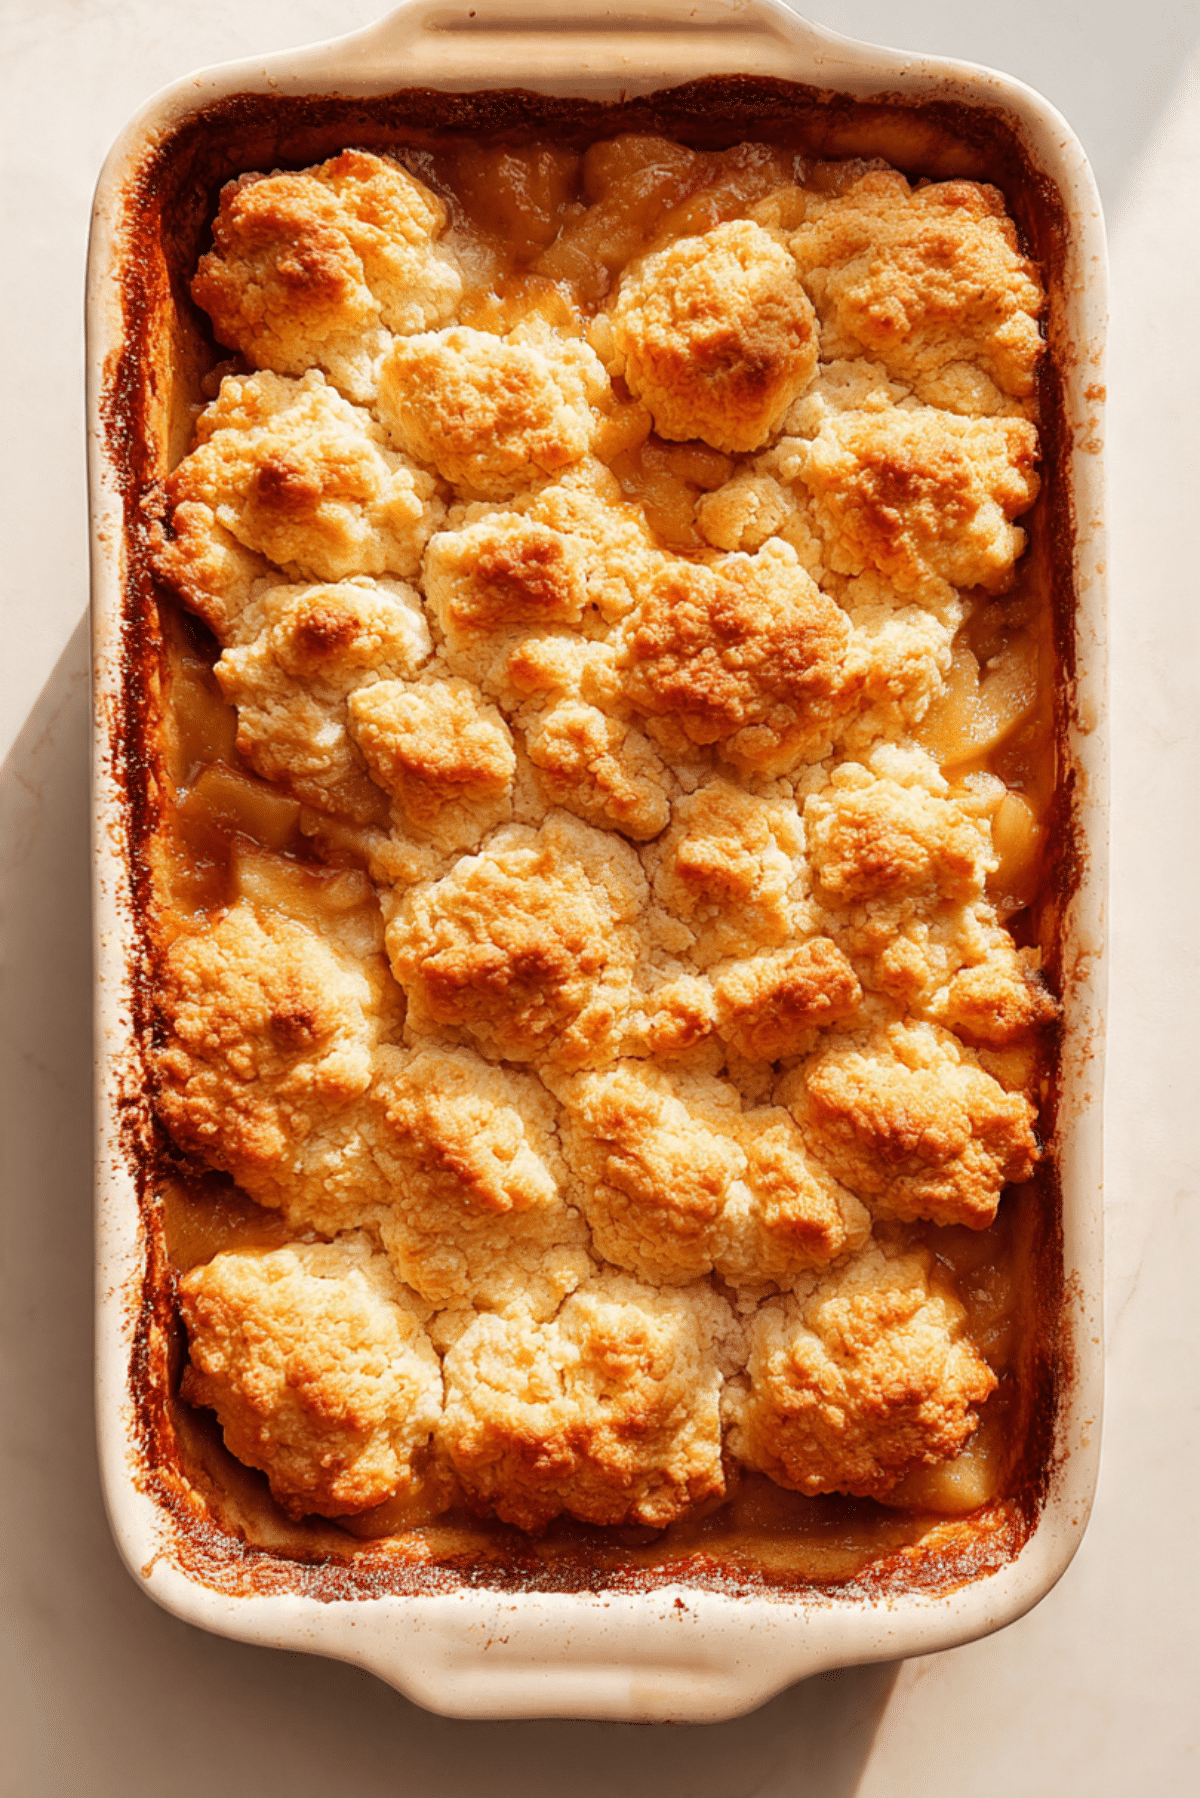
There is something about the smell of apples baking with cinnamon that instantly makes a kitchen feel warm and welcoming. Apple Cobbler is one of those comforting desserts that feels both nostalgic and satisfying at the same time. The soft fruit bubbles gently under a golden topping, filling the air with sweet, buttery aromas. Trust me, you are going to love this.
Each spoonful brings tender apples coated in warm spices along with a soft biscuit-like topping that soaks up all that syrupy goodness. It is simple, cozy, and honestly one of those desserts that disappears fast once it hits the table.
Why This Cozy Dessert Always Wins Hearts
Before we get into the details, let me just say something. Some desserts look beautiful but feel complicated to make. This one is the opposite. Apple Cobbler is rustic, forgiving, and packed with flavor.
The apples soften into a sweet filling while the topping bakes into a golden layer with crisp edges and a fluffy center. The contrast of textures is what makes every bite exciting.
Picture a spoon breaking through the warm topping, reaching the tender apples below. It is sweet, slightly spiced, and incredibly comforting. This one is a total game changer when you want a dessert that feels homemade in the best possible way.
A Sweet Classic with Deep Roots
Now that the aroma of baked apples is already in your imagination, let’s talk a little about where this dessert comes from.
Cobbler became popular in early American kitchens when settlers adapted traditional pie recipes using simple ingredients and limited equipment. Instead of rolling delicate pastry crusts, cooks dropped biscuit style dough over fruit and baked everything together.
The name “cobbler” comes from the way the topping looks once baked. The uneven, golden surface resembles a cobblestone street. Over time, apple versions became especially loved because apples were widely available and easy to store through the colder months.
Today, this dessert remains a beloved comfort food that appears on holiday tables, family dinners, and cozy fall evenings.
Reasons This Recipe Works Every Time
Before we jump into the ingredients, let me share why this dessert is such a dependable favorite.
Versatile:
You can enjoy it warm with ice cream, serve it at room temperature, or even enjoy leftovers the next day.
Budget-Friendly:
Most of the ingredients are simple pantry staples and fresh apples, which keeps the cost low.
Quick and Easy:
The steps are straightforward, so even beginner cooks can make it with confidence.
Customizable:
Different apple varieties or extra spices can easily change the flavor profile.
Crowd-Pleasing:
This dessert is loved by both kids and adults. It is warm, sweet, and comforting.
Make-Ahead Friendly:
You can prepare the apple filling ahead of time and assemble later.
Great for Leftovers:
The flavors deepen overnight, making the next day’s serving even more delicious.
Insider Tips for the Best Apple Cobbler
Before we start baking, here are a few expert tips that make a big difference.
Choose firm apples: They hold their shape during baking and keep the filling from turning mushy.
Balance sweet and tart: Mixing apple varieties adds more depth to the flavor.
Do not overmix the batter: A gentle mix keeps the topping soft and tender.
Let it rest briefly after baking: This allows the filling to thicken slightly before serving.
Kitchen Tools That Make It Easier
Every great dessert starts with the right tools. Thankfully, this one does not require anything fancy.
Mixing Bowl: Used to combine the topping ingredients smoothly.
Peeler and Knife: Essential for preparing the apples.
Measuring Cups and Spoons: Ensures the sweetness and spices stay balanced.
Baking Dish: A medium baking dish allows the fruit and topping to bake evenly.
Wooden Spoon or Spatula: Helpful for mixing and assembling.
Ingredients You Will Need For This Dessert
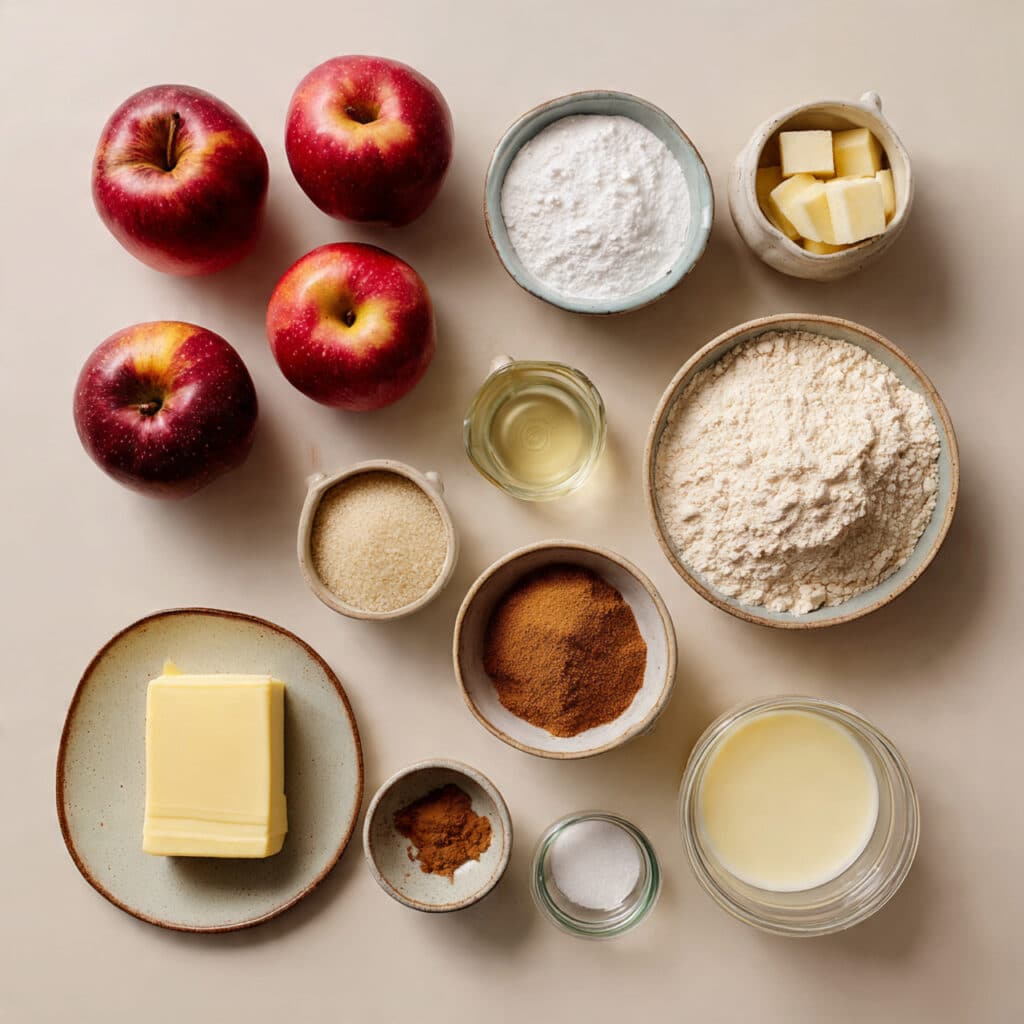
Now let’s talk about the ingredients that bring this comforting dessert together. Each one plays an important role in building flavor and texture.
- Apples: 6 medium apples, peeled and sliced. These create the soft, sweet fruit base of the dessert.
- Granulated Sugar: ½ cup, adds sweetness to balance the tart apples.
- Brown Sugar: ¼ cup, contributes a deeper caramel flavor.
- All Purpose Flour: 1 cup, forms the base of the biscuit style topping.
- Baking Powder: 2 teaspoons, helps the topping rise and become fluffy.
- Salt: ¼ teaspoon, enhances the overall flavor.
- Ground Cinnamon: 1 teaspoon, brings warmth and spice to the filling.
- Unsalted Butter: ½ cup, melted, adds richness and moisture.
- Milk: ¾ cup, creates the soft batter for the topping.
- Vanilla Extract: 1 teaspoon, adds aromatic sweetness.
- Lemon Juice: 1 tablespoon, brightens the apple flavor and balances the sweetness.
Easy Ingredient Swaps
Sometimes you need a small adjustment, and that is perfectly fine.
Apples: Pears can work as a gentle alternative.
Milk: Almond milk or oat milk can be used.
Brown Sugar: Coconut sugar can replace it.
Butter: Plant based butter works if needed.
Spotlight on Key Ingredients
A few ingredients truly define this dessert.
Apples: The heart of the dish. When baked, they become tender and naturally sweet while absorbing cinnamon and sugar.
Cinnamon: A warm spice that pairs beautifully with apples and creates that classic cozy aroma.
Let’s Start Cooking
And now let’s dive into the cooking process together. The steps are simple, and once everything goes into the oven the magic really begins.
-
Preheat Your Equipment:
Preheat your oven to 375°F or 190°C so it is fully ready for baking. -
Combine Ingredients:
In a bowl, mix the sliced apples with granulated sugar, brown sugar, cinnamon, lemon juice, and vanilla extract. -
Prepare Your Cooking Vessel:
Lightly grease a baking dish with butter so the cobbler releases easily. -
Assemble the Dish:
Spread the apple mixture evenly in the baking dish. In another bowl, combine flour, baking powder, salt, milk, and melted butter to create a thick batter. Spoon the batter over the apples. -
Cook to Perfection:
Bake for about 40 minutes until the topping turns golden and the fruit filling bubbles around the edges. -
Finishing Touches:
Allow the cobbler to cool for about 10 minutes. This helps the filling thicken slightly. -
Serve and Enjoy:
Scoop generous portions into bowls and enjoy warm.
How Texture and Flavor Come Together
As the dessert bakes, the apples soften and release their juices, creating a naturally sweet syrup. At the same time, the topping rises and forms a golden crust.
The edges become slightly crisp while the center stays soft and fluffy. Each spoonful delivers warm fruit, gentle spice, and buttery topping. Let me tell you, it is worth every bite.
Helpful Baking Tips for Success
Even simple desserts benefit from a few thoughtful touches.
- Use a mix of sweet and tart apples for deeper flavor.
- Sprinkle a little extra cinnamon on top before baking.
- Serve warm to highlight the aroma and texture.
Common Mistakes to Avoid
Before finishing, here are a few pitfalls that are easy to avoid.
- Using overly soft apples which can become mushy.
- Adding too much liquid to the filling which may make it watery.
- Overbaking which can dry out the topping.
Nutrition Overview
Servings: 6
Calories per serving: 320
Note: These values are approximate and may vary depending on ingredient brands.
Preparation Time
Prep Time: 15 minutes
Cook Time: 40 minutes
Total Time: 55 minutes
Make-Ahead and Storage Tips
If you like planning ahead, this dessert makes it easy.
You can slice the apples and prepare the filling a few hours before baking. Store it covered in the refrigerator until you are ready to assemble.
Leftovers should be stored in an airtight container in the refrigerator for up to three days. To reheat, warm it gently in the oven or microwave until heated through.
Freezing is also possible. Wrap portions tightly and freeze for up to two months.
Serving Ideas That Make It Even Better
Warm Apple Cobbler pairs beautifully with a scoop of vanilla ice cream that slowly melts into the fruit. A drizzle of caramel sauce also adds extra sweetness.
You can also serve it with whipped cream or even a spoonful of thick yogurt for a slightly lighter touch.
Creative Ways to Use Leftovers
If you happen to have leftovers, there are fun ways to enjoy them again.
Try spooning the cobbler over pancakes for a sweet breakfast twist. It also works as a topping for waffles or stirred into oatmeal.
Another idea is to layer it with yogurt and granola to create a quick dessert parfait.
Extra Tips for Flavor and Ease
Small adjustments can make the dessert even better.
Use freshly grated nutmeg for added warmth.
Add a small pinch of salt on top before baking for flavor contrast.
Serve it slightly warm for the best texture.
Turn This Dessert into a Showstopper
Presentation can make a big difference. Serve the cobbler in a rustic baking dish and place it directly on the table.
A light dusting of powdered sugar and a scoop of ice cream on top creates a beautiful finishing touch.
Variations to Try
Here are a few creative ways to change things up.
Apple Berry Cobbler: Add a handful of fresh berries to the filling.
Spiced Version: Add nutmeg and cloves for deeper warmth.
Crunchy Topping: Sprinkle oats and brown sugar over the batter before baking.
Caramel Apple Style: Drizzle caramel sauce over the apples before baking.
FAQ’s
Q1: Which apples work best for cobbler?
Firm apples like Granny Smith or Honeycrisp hold their texture well during baking.
Q2: Can I make this dessert ahead of time?
Yes, you can prepare the apple mixture earlier and assemble it before baking.
Q3: Can I freeze apple cobbler?
Yes, it freezes well for up to two months if stored properly.
Q4: How do I keep the topping fluffy?
Avoid overmixing the batter so it stays light.
Q5: Can I reduce the sugar?
Yes, slightly reducing sugar still works if your apples are naturally sweet.
Q6: What spices work well with apples?
Cinnamon, nutmeg, and cloves all pair beautifully.
Q7: Can I make it dairy free?
Yes, plant based milk and butter substitutes can be used.
Q8: Should it be served hot or cold?
Warm is best because the flavors and textures shine the most.
Q9: Can I add nuts?
Yes, chopped pecans or walnuts add a nice crunch.
Q10: Why is my cobbler watery?
This can happen if the apples release too much juice. Letting it rest after baking helps it thicken.
Conclusion
Apple Cobbler is the kind of dessert that brings comfort with every spoonful. It is warm, simple, and filled with the nostalgic flavors of baked apples and cinnamon.
Whether you serve it at a family dinner or enjoy it on a quiet evening, it never fails to make the kitchen smell amazing. Trust me, once you make it, it will quickly become one of those recipes you return to again and again.
Print
Apple Cobbler
- Prep Time: 15 minutes
- Cook Time: 40 minutes
- Total Time: 55 minutes
- Yield: 6 servings 1x
- Category: Dessert
- Method: Baking
- Cuisine: American
- Diet: Vegetarian
Description
A warm and comforting apple cobbler made with tender cinnamon-spiced apples and a golden buttery topping, baked until bubbling and delicious.
Ingredients
- 6 medium apples, peeled and sliced
- 1/2 cup granulated sugar
- 1/4 cup brown sugar
- 1 cup all purpose flour
- 2 teaspoons baking powder
- 1/4 teaspoon salt
- 1 teaspoon ground cinnamon
- 1/2 cup unsalted butter, melted
- 3/4 cup milk
- 1 teaspoon vanilla extract
- 1 tablespoon lemon juice
Instructions
- Preheat the oven to 375°F (190°C).
- In a large bowl, combine the sliced apples, granulated sugar, brown sugar, ground cinnamon, lemon juice, and vanilla extract. Mix until the apples are evenly coated.
- Lightly grease a medium baking dish.
- Spread the apple mixture evenly into the prepared baking dish.
- In a separate bowl, whisk together the all purpose flour, baking powder, and salt.
- Add the milk and melted butter to the dry ingredients and stir gently until a thick batter forms.
- Spoon the batter evenly over the apple mixture.
- Bake for 40 minutes, or until the topping is golden and the apple filling is bubbling around the edges.
- Let the cobbler rest for 10 minutes before serving.
- Serve warm.
Notes
- Use firm apples such as Granny Smith or Honeycrisp for the best texture.
- Do not overmix the batter, this helps keep the topping tender.
- Letting the cobbler rest after baking helps the filling thicken slightly.
- Serve with vanilla ice cream or whipped cream for an extra cozy finish.
Nutrition
- Serving Size: 1 serving
- Calories: 320
- Sugar: 29g
- Sodium: 210mg
- Fat: 14g
- Saturated Fat: 8g
- Unsaturated Fat: 5g
- Trans Fat: 0g
- Carbohydrates: 48g
- Fiber: 3g
- Protein: 3g
- Cholesterol: 35mg
Keywords: apple cobbler, easy apple dessert, baked apple dessert, cinnamon apple cobbler, homemade cobbler